Home / Education & Resources / Student Tips
Training days go quickly. What you do between them decides how much stays in your hand.
Study Tips for Cosmetic Tattoo Students
Cosmetic tattoo is learned through repetition, observation and correction. These five habits help you arrive ready, practise with purpose and turn a trainer’s comments into steadier work. None of them need special equipment, just a notebook, a phone camera and some discipline.
Five habits
01—02
Prepare before class, then practise on latex
Read any pre-course material twice, once for the overview and once with a pen. Write down the words you don’t know, like undertone, retention and stroke direction, and bring them to class as questions. Get enough sleep the night before, because a tired hand is a shaky one.
Latex practice skin is where your hand learns pressure, angle and rhythm with nothing at stake. Treat every sheet as a real session. Draw the design first, work slowly and finish what you start. A full sheet of evenly spaced strokes teaches you more than ten half-finished brows. Keep every sheet, dated, so you can see your line quality change over the weeks.
Starting from the beginning? The Cosmetic Tattoo Course covers the foundations these habits build on.
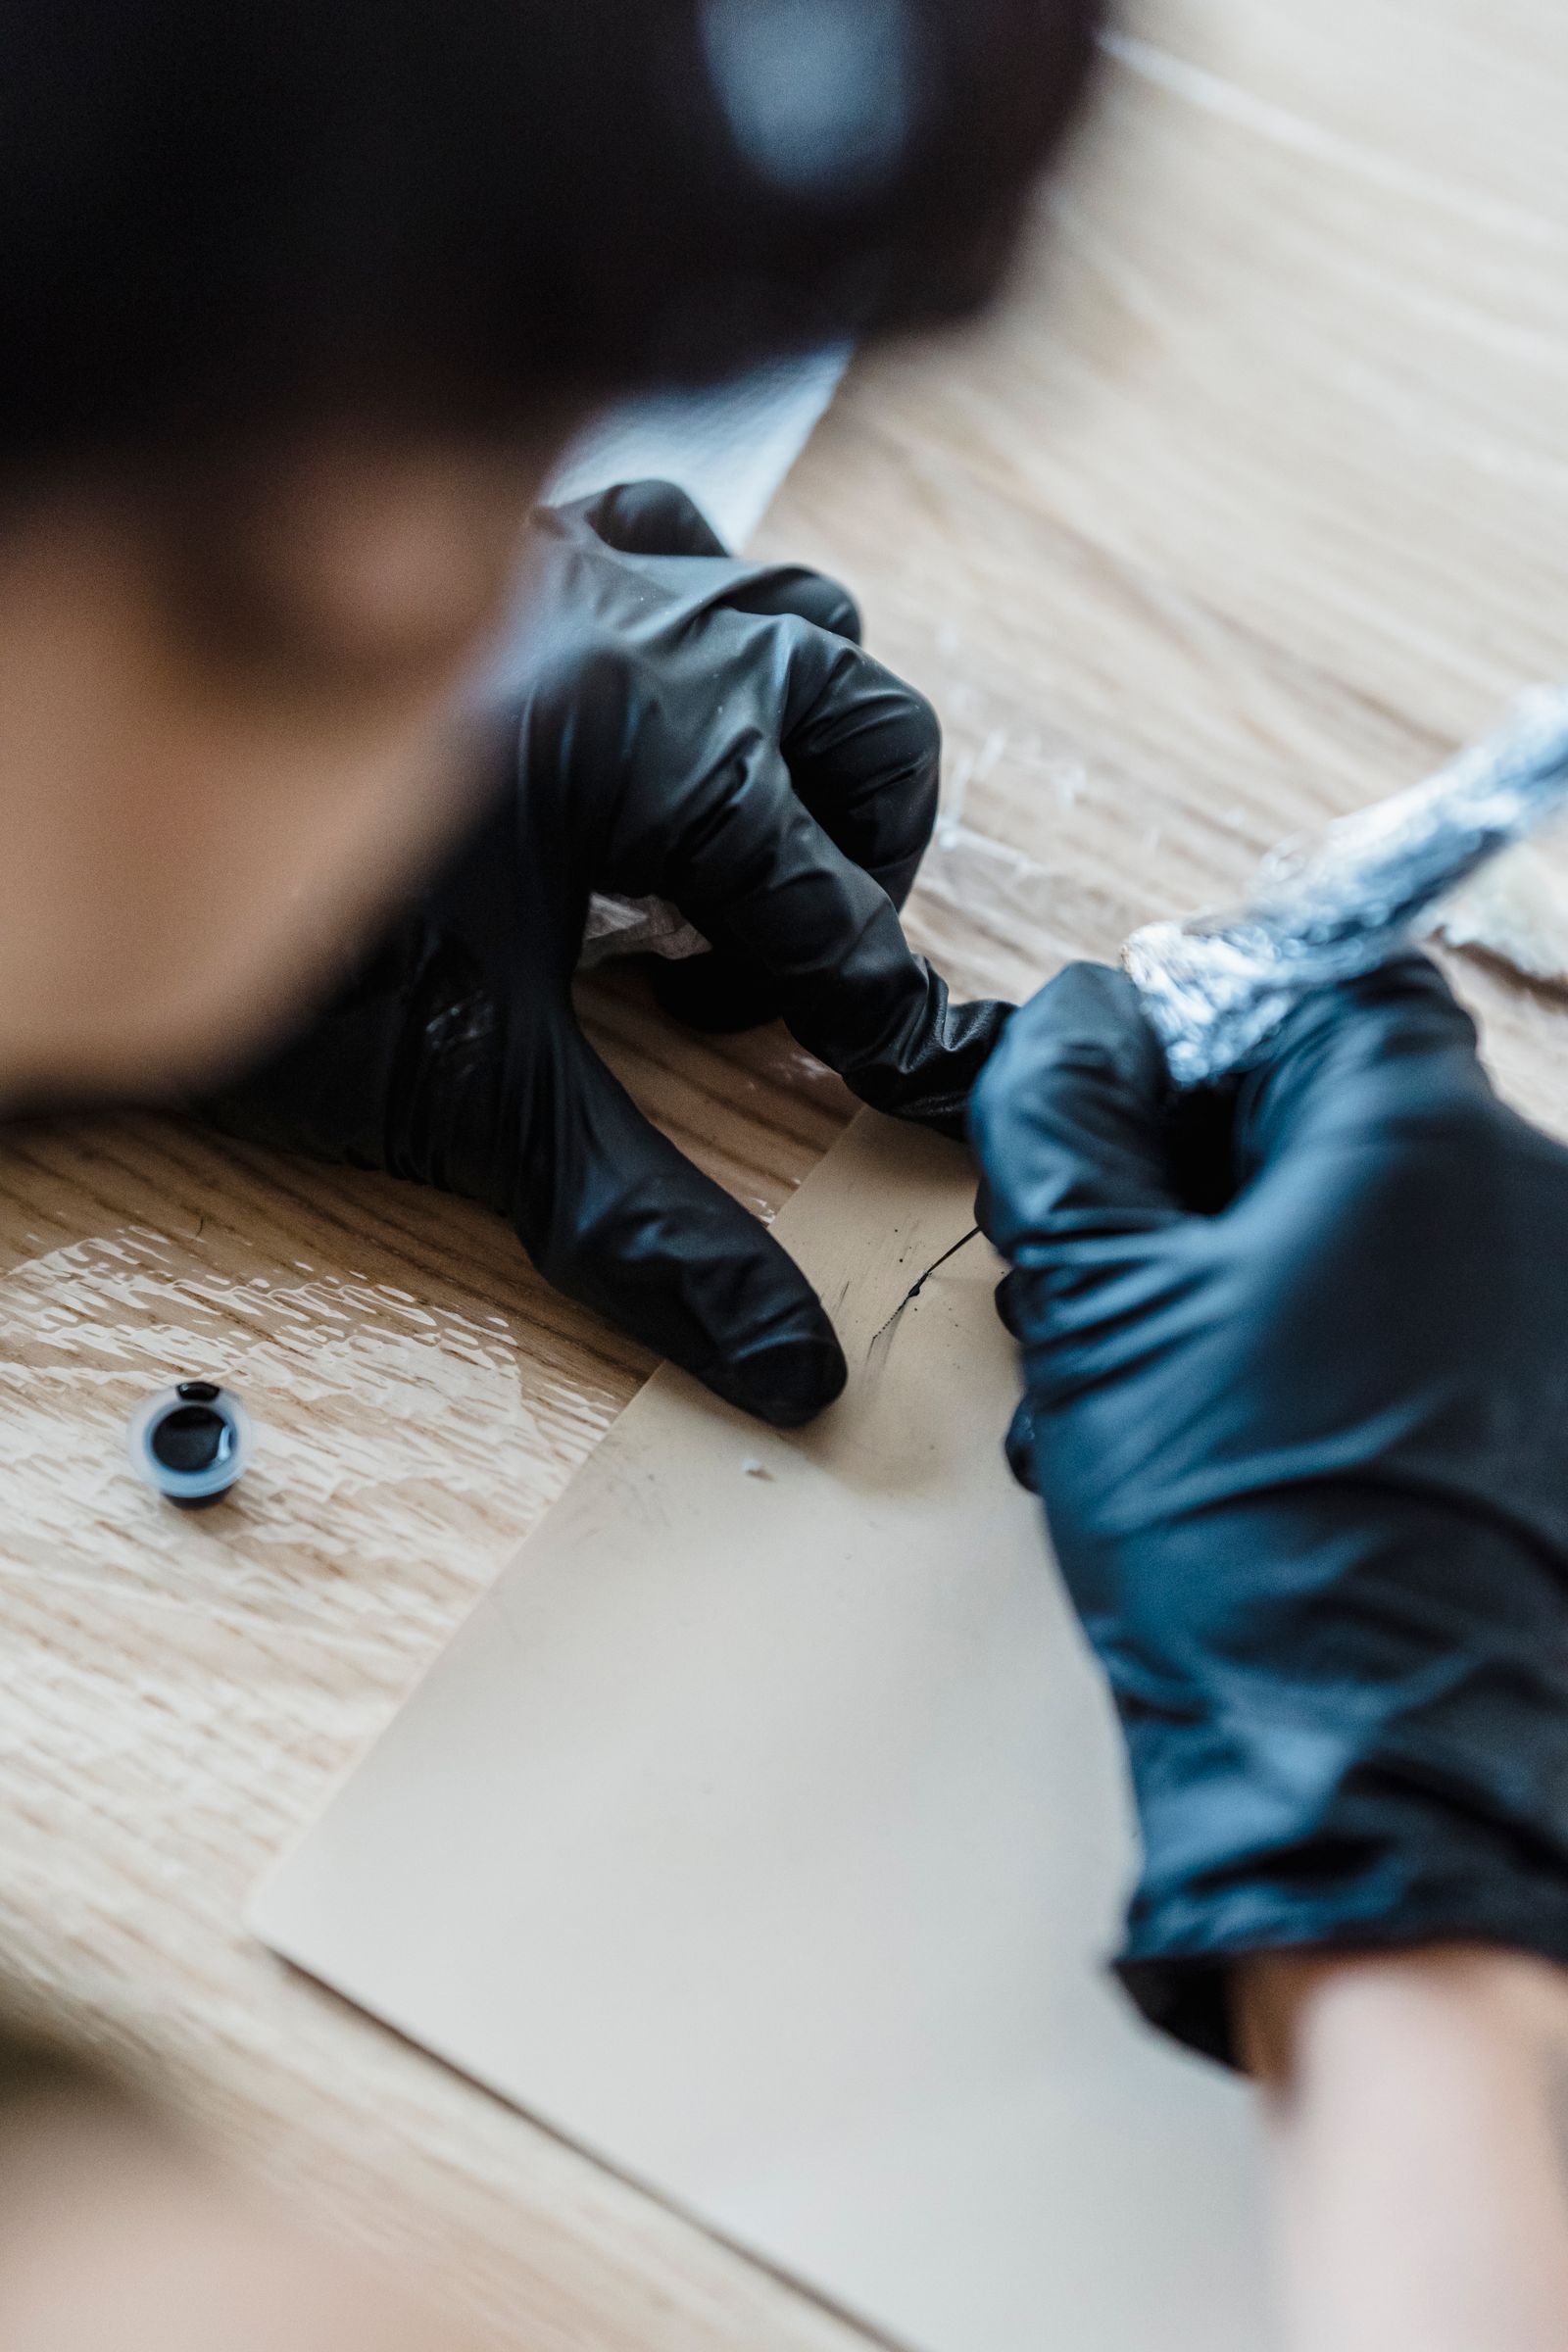
Reference photograph: gloved hands setting out small tools before practice. Laying out your kit the same way each time frees your attention for the work itself.
03
Keep a sketchbook of brow and lip maps
Mapping is a drawing skill before it is a tattoo skill. Fill a sketchbook with brows and lips taken from photographs of different faces. Mark the start, arch and tail of each brow, and the peaks, centre line and corners of each lip. Then draw the shape you would design for that face.
Over time the book becomes a record of your judgement. You will see where you tend to set arches too high or make lip borders too heavy, and that is exactly what to raise with your trainer.
Brows. Draw both sides on every page. Symmetry problems only show up in pairs. Related reading: Microblading Training and Powder Brows Training.
Lips. Sketch the natural border first, then your proposed line in a second colour. Related reading: Lip Tattoo Training.
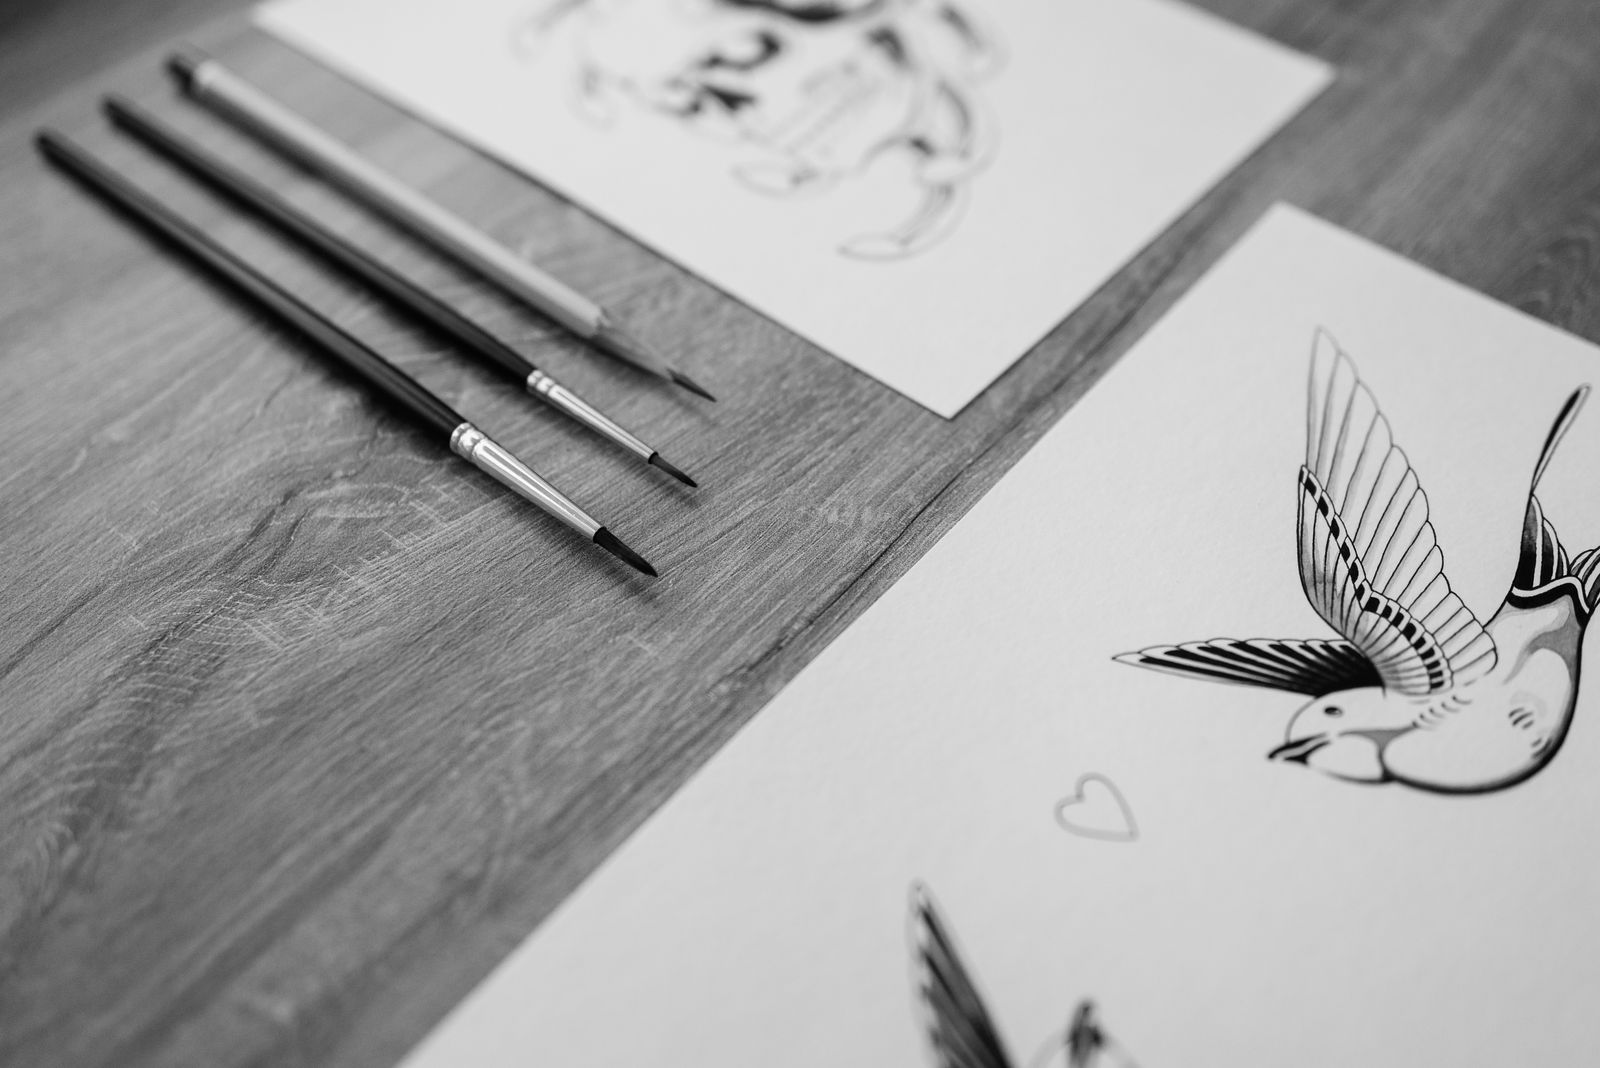
Reference photograph: tools beside design sheets. Shoot practice work flat, in the same light, every time.
04
Photograph your practice work
A photo shows what your eye skips over at the table, like uneven spacing, a wobbling line or patchy shading. Keep your method consistent so each image can be compared with the last.
Light
Daylight or one steady lamp, no flash.
Angle
Straight overhead, then a close-up of the detail.
Label
Date, technique and one note on what you were working on.
Compare
Put this month’s sheet next to last month’s before you practise again.
05
Ask for feedback you can act on
“Looks good” doesn’t tell you what to change. Bring your photos and sketchbook to your trainer and ask narrow questions. Write the answers down straight away, then practise one correction at a time.
Question to ask
Which single stroke on this sheet is closest to right, and why?
Question to ask
Is my pressure consistent from the start of a line to the end?
Question to ask
Would you change this brow map for the face it was drawn for?
Question to ask
What should I practise before our next session, and how will I know it has improved?
Good habits need good structure around them. Read the Cosmetic Tattoo Course to see how training is set out, then send an enquiry about enrolling. For anything else, use the contact page.