Home / Education & Resources / Equipment
Cosmetic Tattoo Equipment: A Beginner's Overview
Before you buy anything, learn what each tool is for. This overview explains the equipment you meet in cosmetic tattoo training. It covers the tools that place pigment, the pigment itself, the skin you practise on and the supplies that keep every procedure clean. You won’t find brand names or prices here. The aim is to help you understand the kit, not to sell it.
Contents of this guide
01 Blades, needles and machines
The tools that place pigment in skin
02 Pigments
Colour, undertone and how pigment is prepared
03 Practice skin
Where your hand learns before a client
04 Hygiene supplies
Gloves, barriers and single-use items
05 Matching kit to a course
A short checklist before you enquire
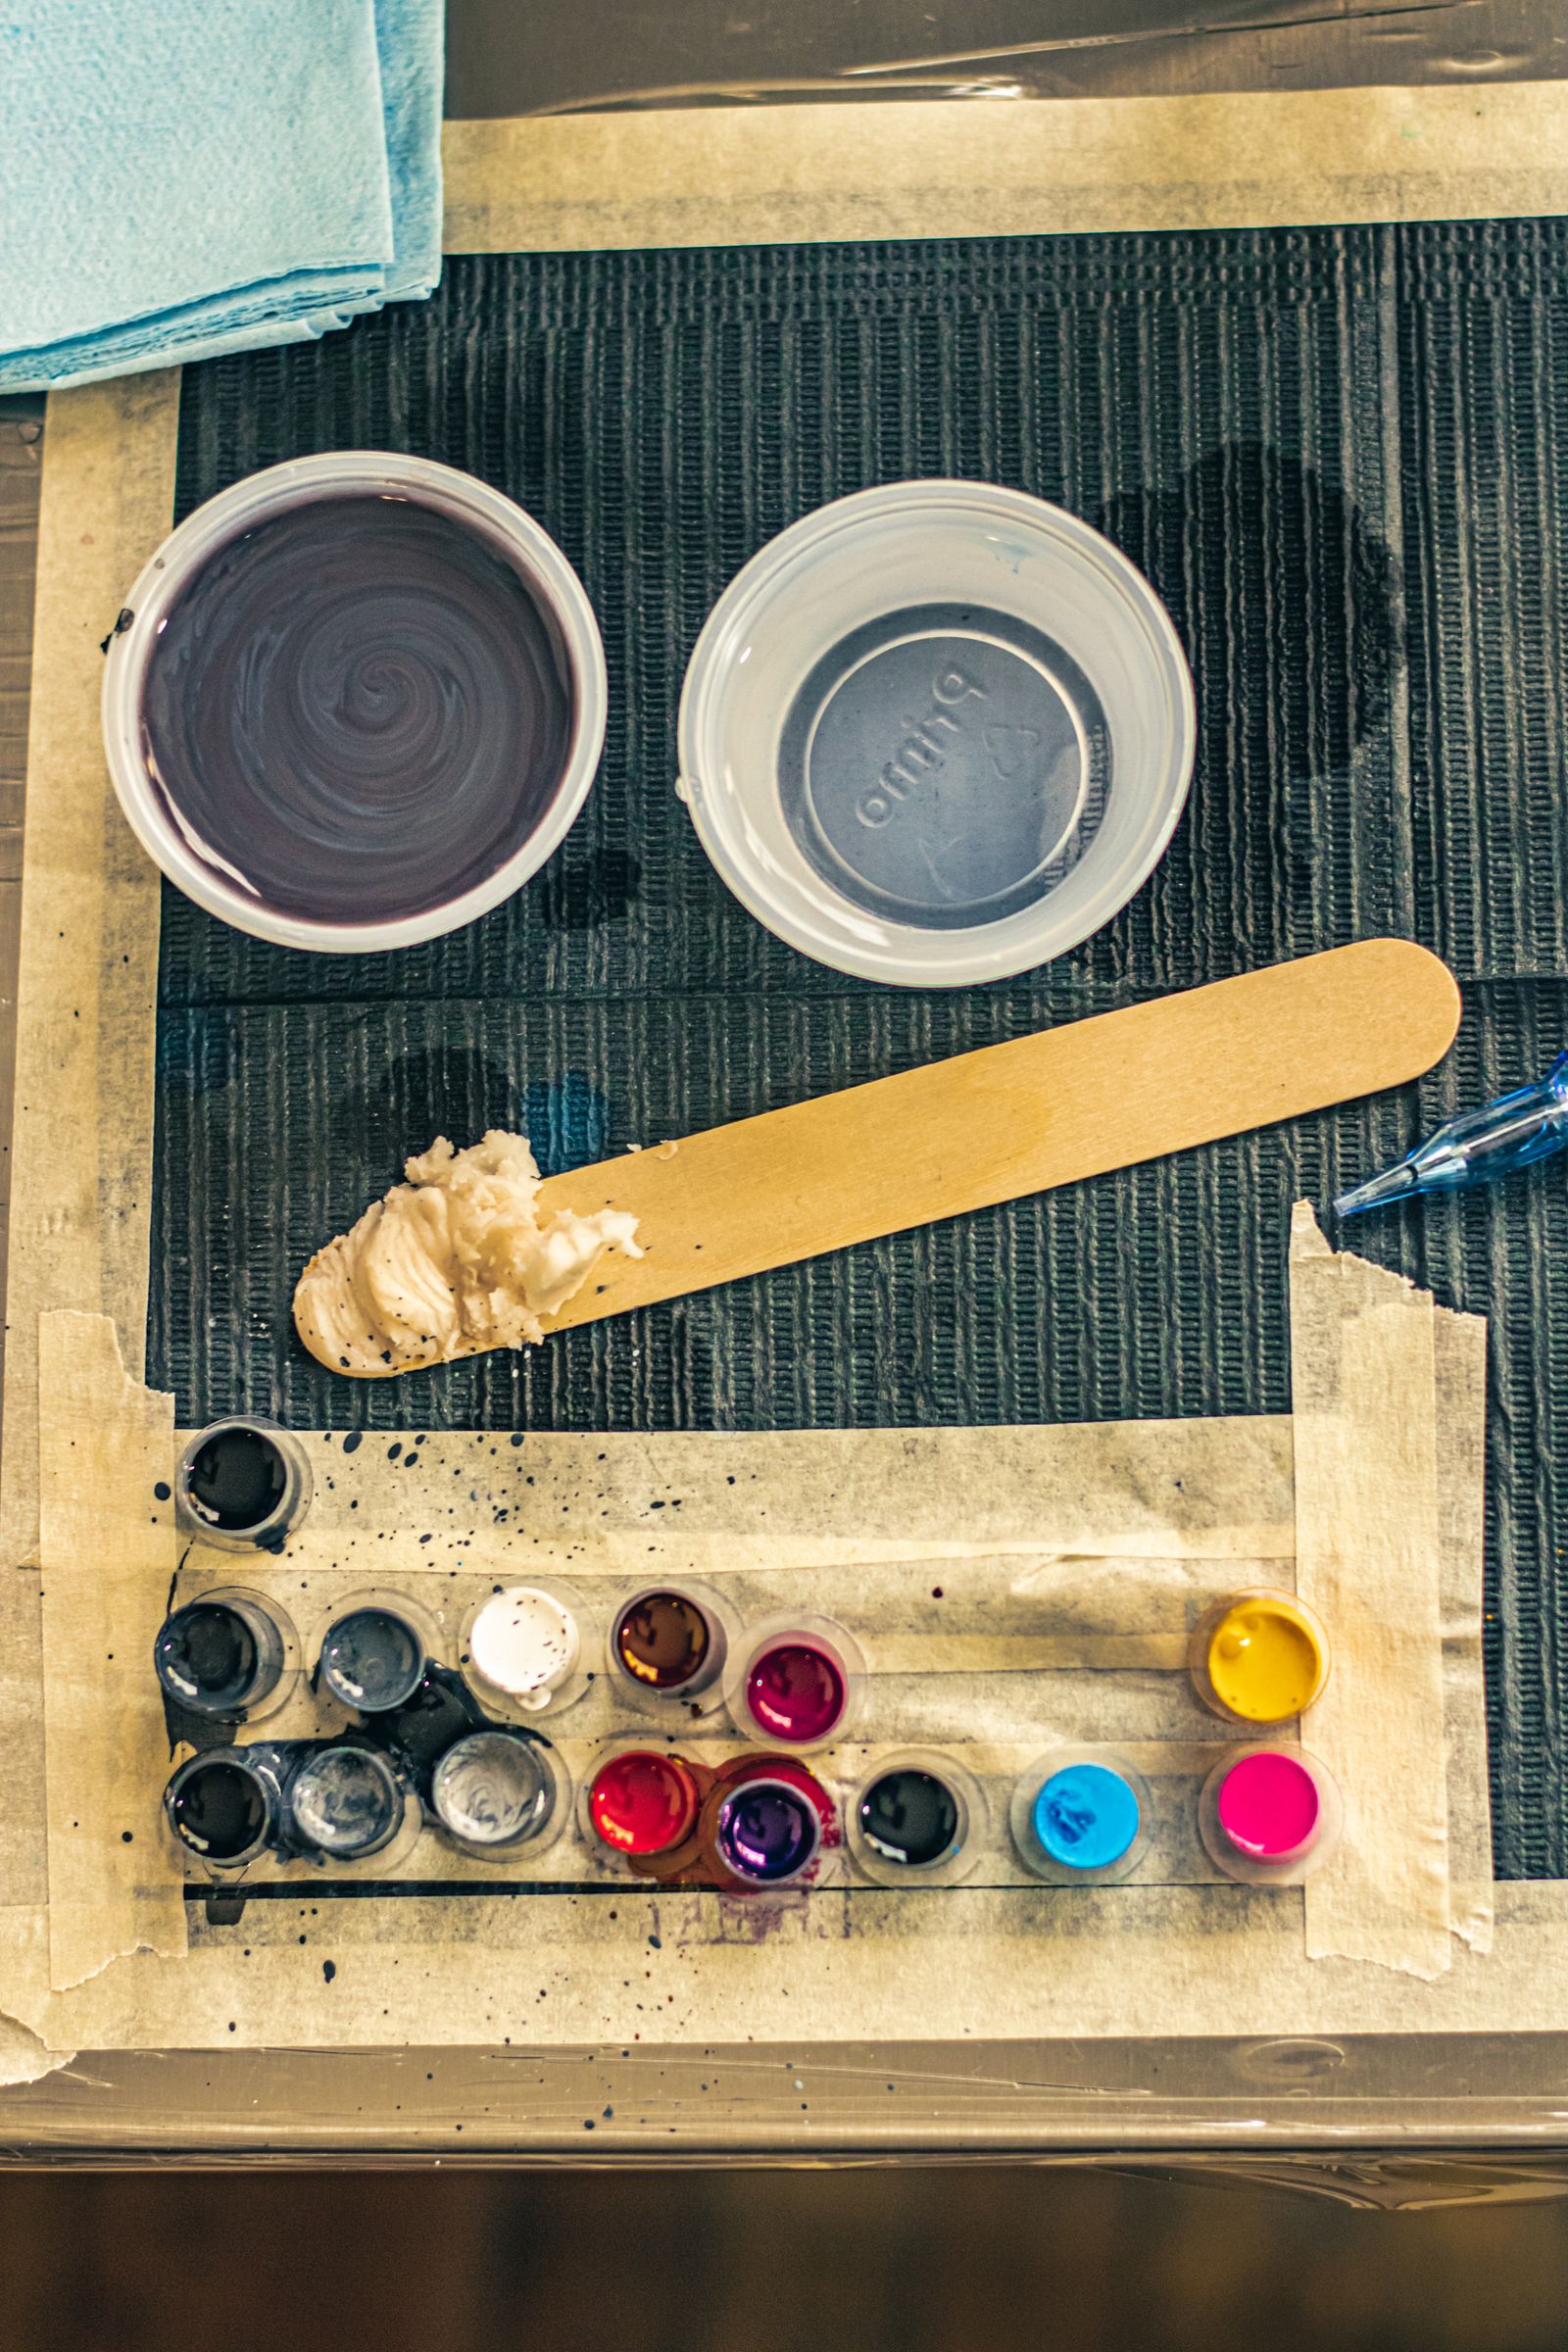
Reference photograph: pigments, mixing containers and applicators set out on a workstation. A tidy layout is part of working cleanly.
01
Manual or machine? The first difference between courses is often the tool itself. Read Microblading and Powder & Ombre Brows side by side.
Blades, needles and machines
Microblading blades
A microblading blade is a row of fine needles set into a handheld tool. The artist draws each stroke by hand to imitate a single brow hair, so depth, angle and pressure all come from the wrist. Blades differ in shape and configuration, and students learn early which one suits which kind of stroke. The Microblading Course is where blade control is taught.
Machines and pens
A cosmetic tattoo machine, often shaped like a pen, moves a needle rapidly in and out of the skin. It is used for shaded brows, lip colour, eyeliner and fine line work. Because the machine sets the rhythm, the student’s job is hand speed, stretch and consistent passes. Shading with a machine is covered in the Powder & Ombre Brows Course.
Needles and cartridges
Needles come in different groupings. Single needles give crisp lines and grouped needles lay down softer shading. Many machines take sealed, single-use cartridges. Knowing which grouping makes which mark matters a great deal for detailed work like the Fine Line Tattoo Course.
02
Pigments
Cosmetic tattoo pigments are made to be placed in the skin, and they are chosen with care. Hair or makeup products are never a substitute. Every colour has an undertone, and it interacts with the client’s own skin tone and any older work. That’s why colour theory is part of training, not an extra.
Students also learn preparation: shaking and dispensing pigment into single-use cups, testing colour before a procedure, and recording what was used. Lips add their own challenge, because natural lip colour changes how any pigment reads. The lip tattoo training guide explains why.
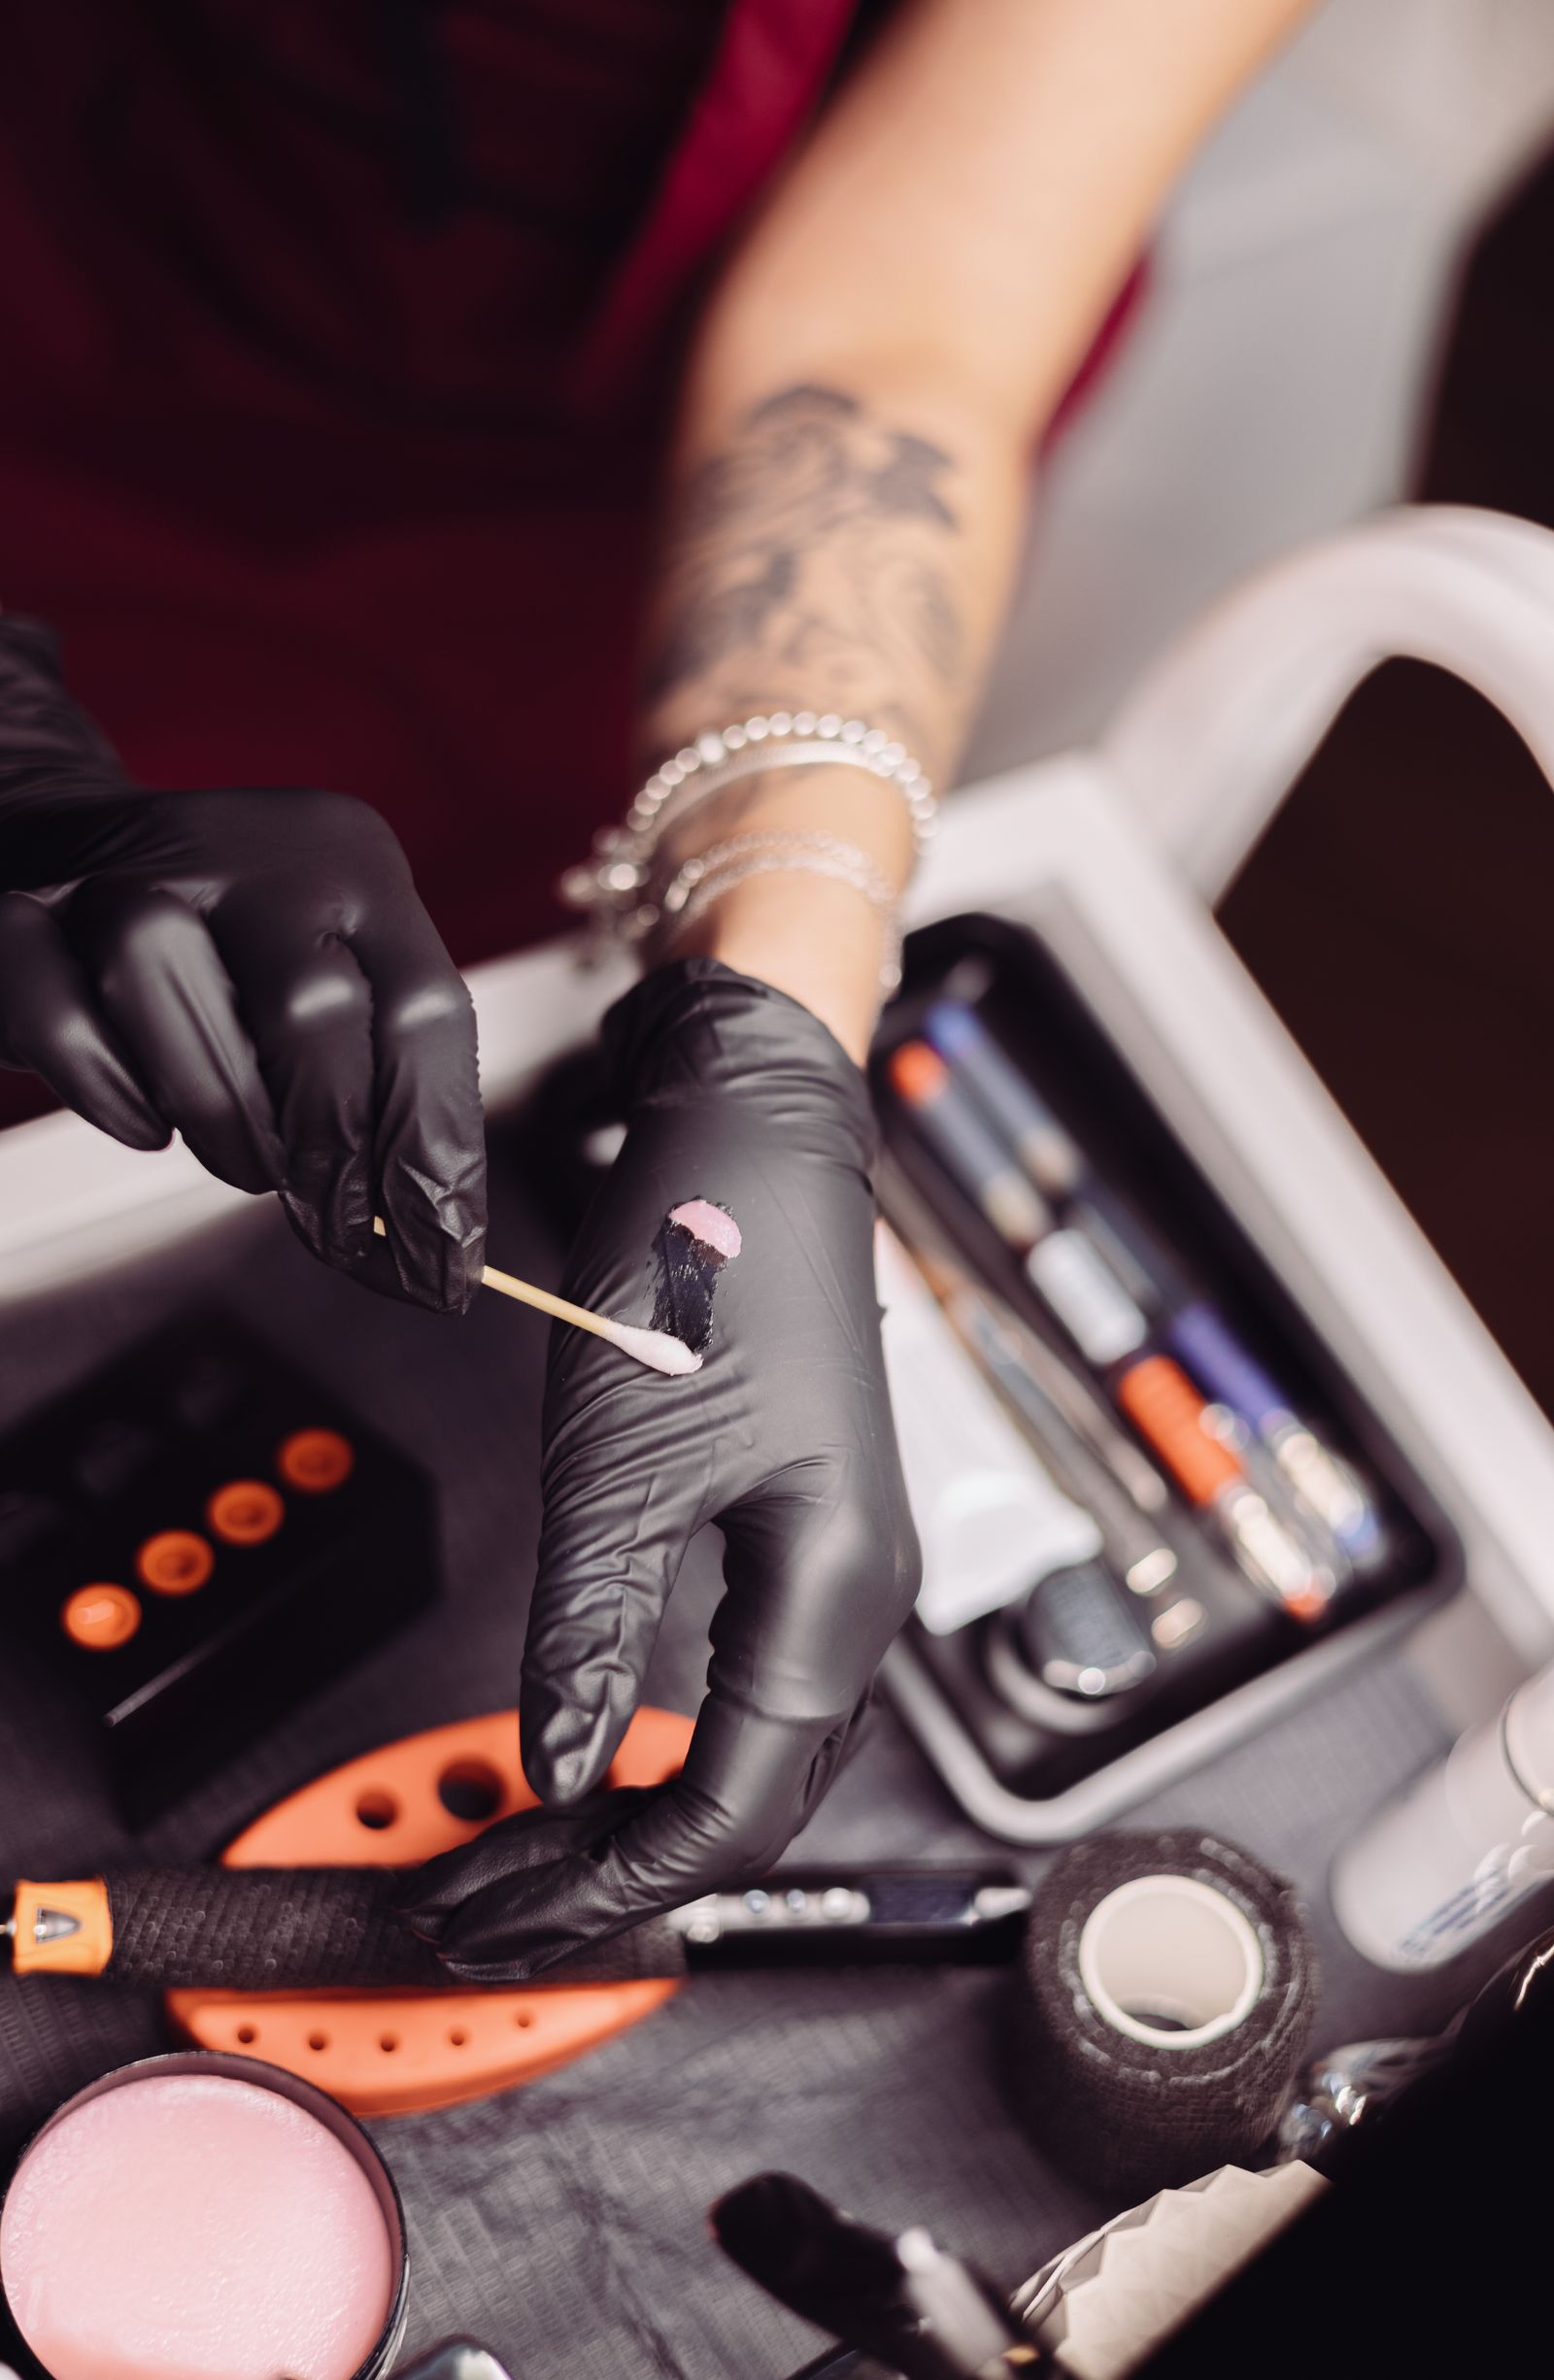
Reference photograph: pigment handled with a swab beside a tool tray.
03
Practice skin
Synthetic practice skins, sheets and mannequin heads let you repeat strokes, shading and lines as often as you need, without a client in the chair. Drawn brow outlines on practice sheets train symmetry, and repeating the same pattern shows exactly where your pressure changes. Practice skin behaves differently from real skin, so it builds hand control but does not replace supervised work. The student tips guide suggests ways to structure practice sessions.
04
Hygiene supplies
Hygiene equipment is the part of a kit you replace most often. It includes disposable gloves, barrier film for machines and surfaces, single-use cups, needles and cartridges, skin preparation products and suitable sharps disposal. Training teaches the order of setting up and breaking down a station so nothing clean touches anything used. Infection control requirements differ between states and local councils, so check the rules where you plan to work.
05
Matching equipment to a course
Hold off on a full kit until you know which technique you are learning. Before you enquire, work through these questions:
Does the course teach a manual blade, a machine or both? Compare the Microblading Course with the Powder & Ombre Brows Course.
Will you need needle groupings for detailed linework, as in the Fine Line Tattoo Course?
Which equipment is used during training, and what should you source yourself afterwards?
How much practice skin work is expected between sessions?
Ask these questions through the enquiry page, or send a general question using the contact form.