In this guide
Home / Education & Resources / Microblading Training
Microblading Training: A Student Guide
Microblading asks more of your hand than almost any other brow technique. Each stroke is placed manually, one at a time, to imitate a single brow hair. This guide walks through what you practise when you learn it: the anatomy of a stroke, how to control the blade, which skin suits the method, the mistakes most beginners make and the habits that fix them.
01
The hair stroke, taken apart
A convincing stroke has three parts: a clean entry, a body that follows the natural growth direction and a tapered exit. Real brows are never uniform, so training teaches you to vary length, curve and spacing across the front, body and tail of the brow.
Before any blade touches skin you map the brow. Measuring symmetry, finding the start, arch and tail, and drawing a pattern on paper are where most of your early hours go. A pattern you cannot draw with a pencil will not come out right with a blade.
Tutor’s note: draw the same brow pattern every day until the strokes flow without thinking about the direction.
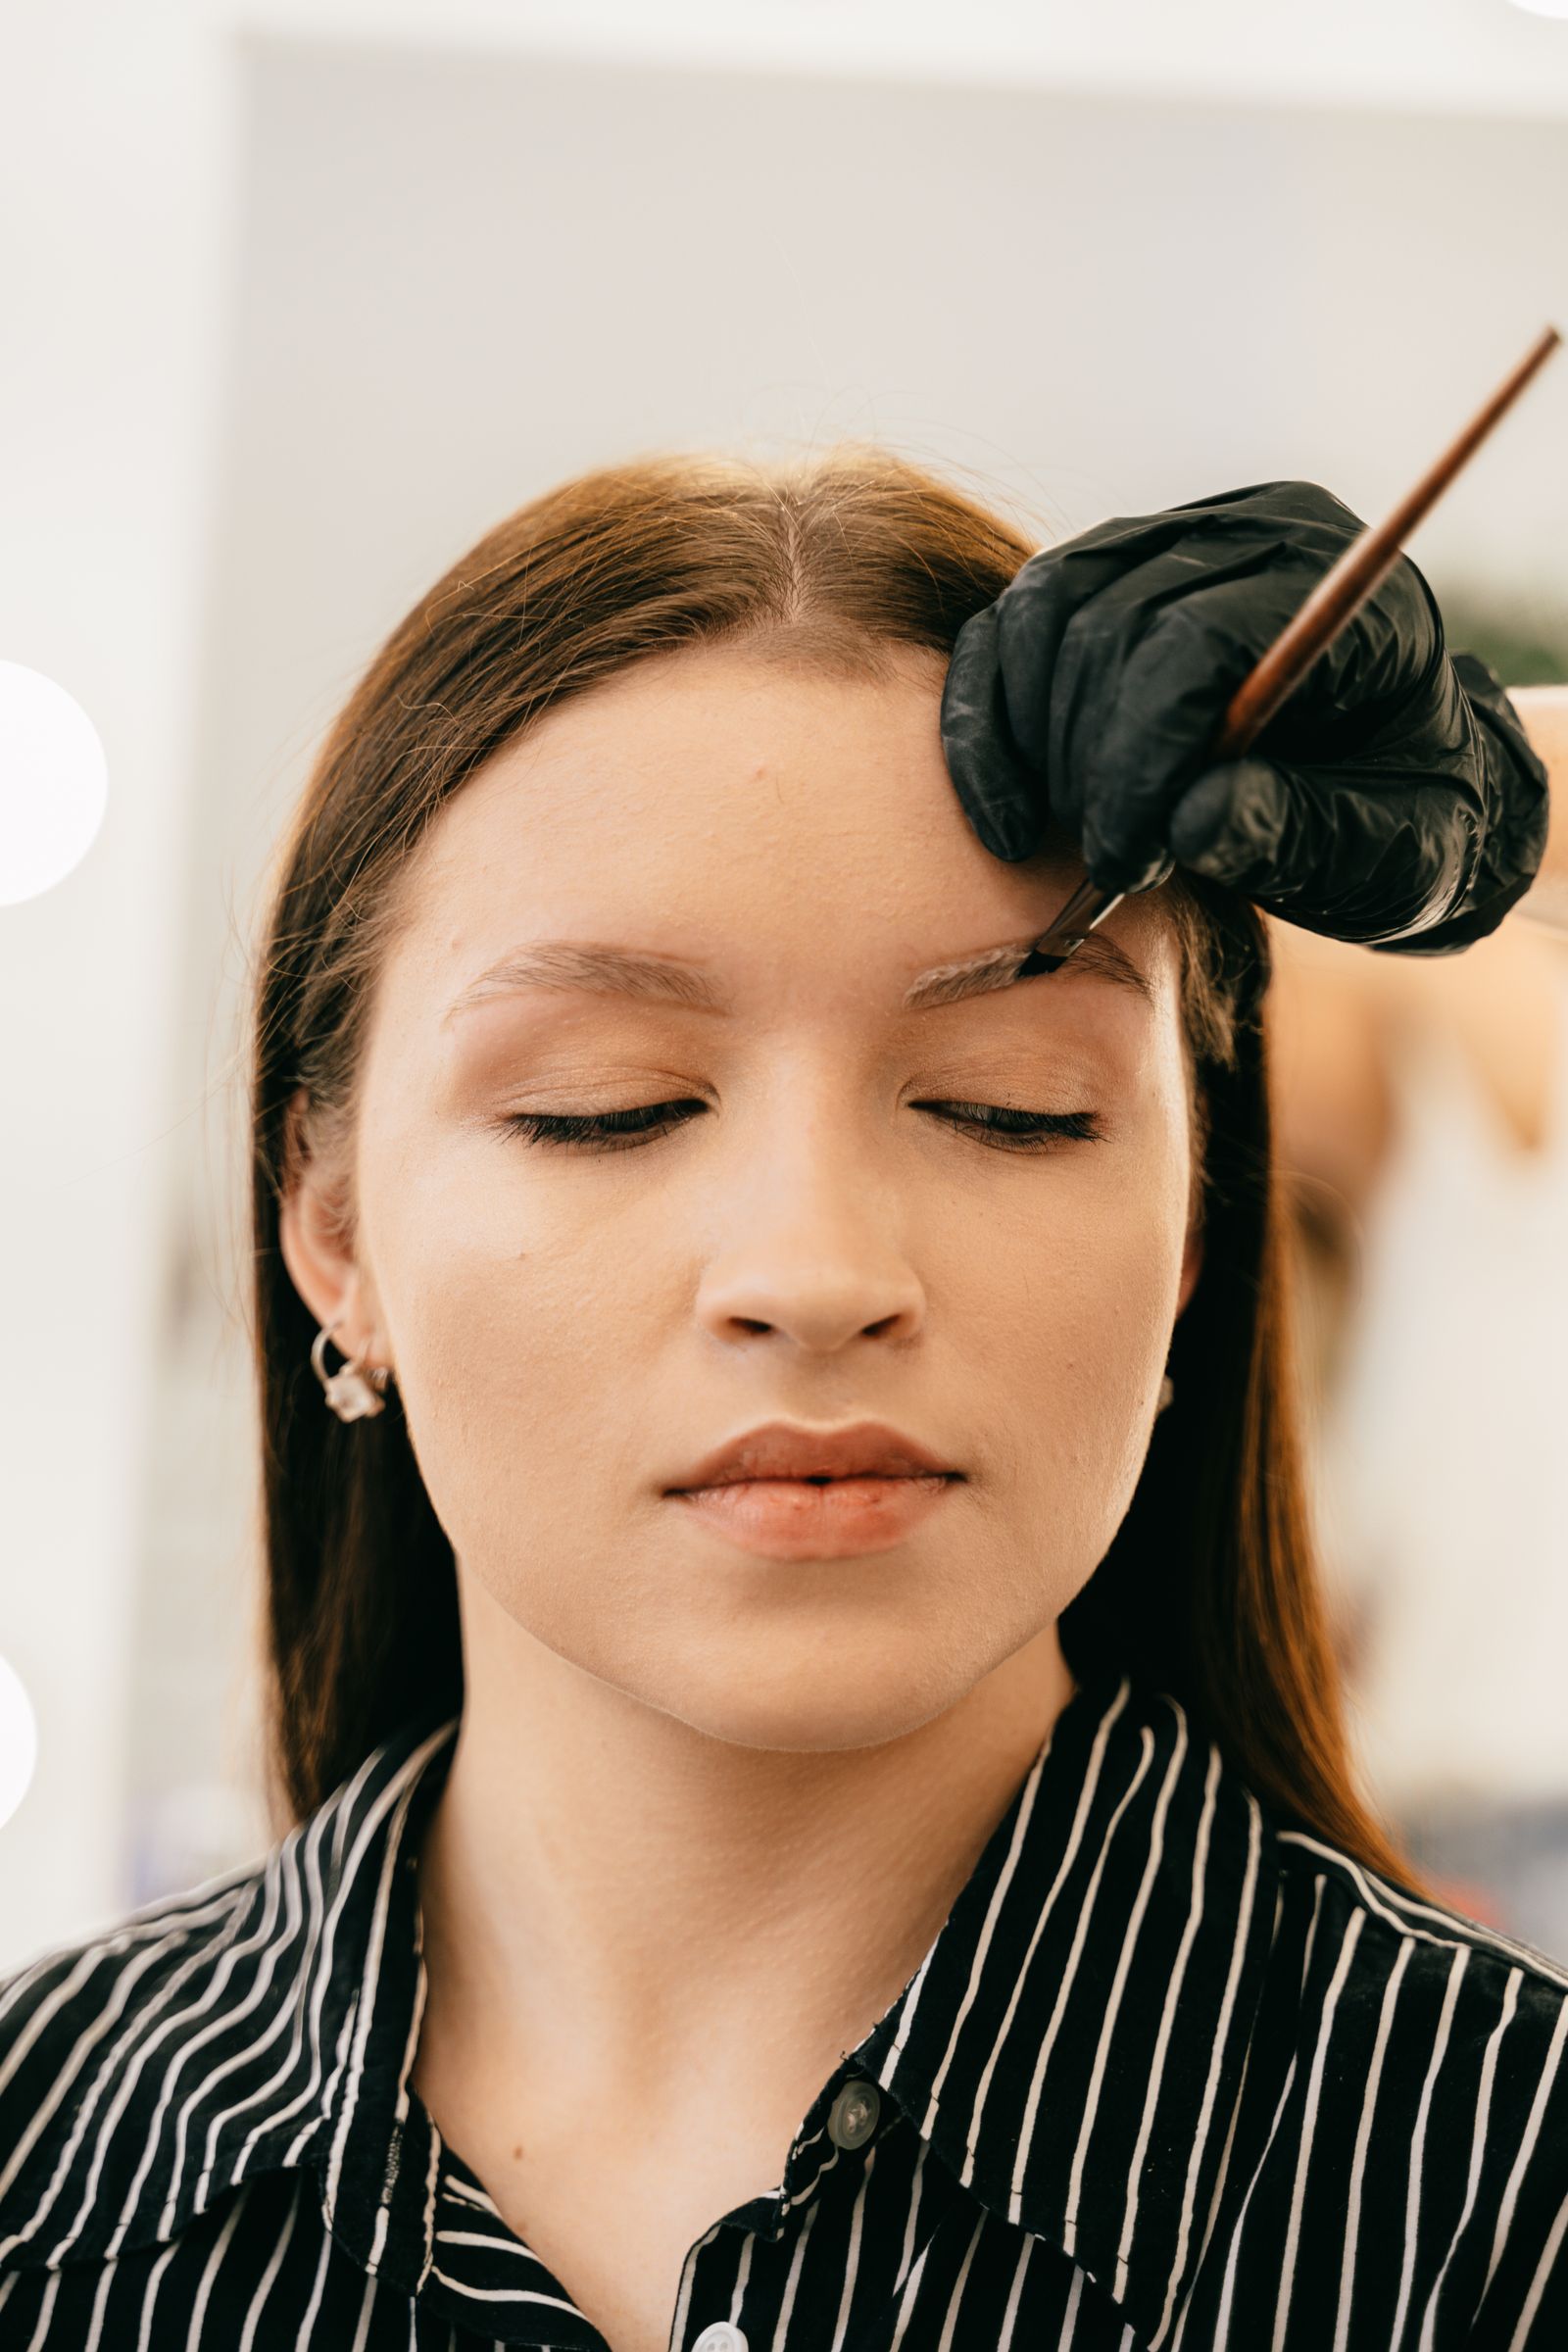
Reference photograph: a fine tool at the brow. Notice how close the hand stays to the face, and how steady.
02
Blade control: angle, depth and tension
Three things decide whether a stroke heals cleanly. Angle: the blade stays upright to the skin, because tilting it smears the line. Depth: the stroke should sit in the right layer, since too shallow fades and too deep blurs. Tension: your free hand stretches the skin so the blade glides rather than drags.
You learn this on practice skin first, listening for the light, even sound of a consistent stroke and checking every line under good light.
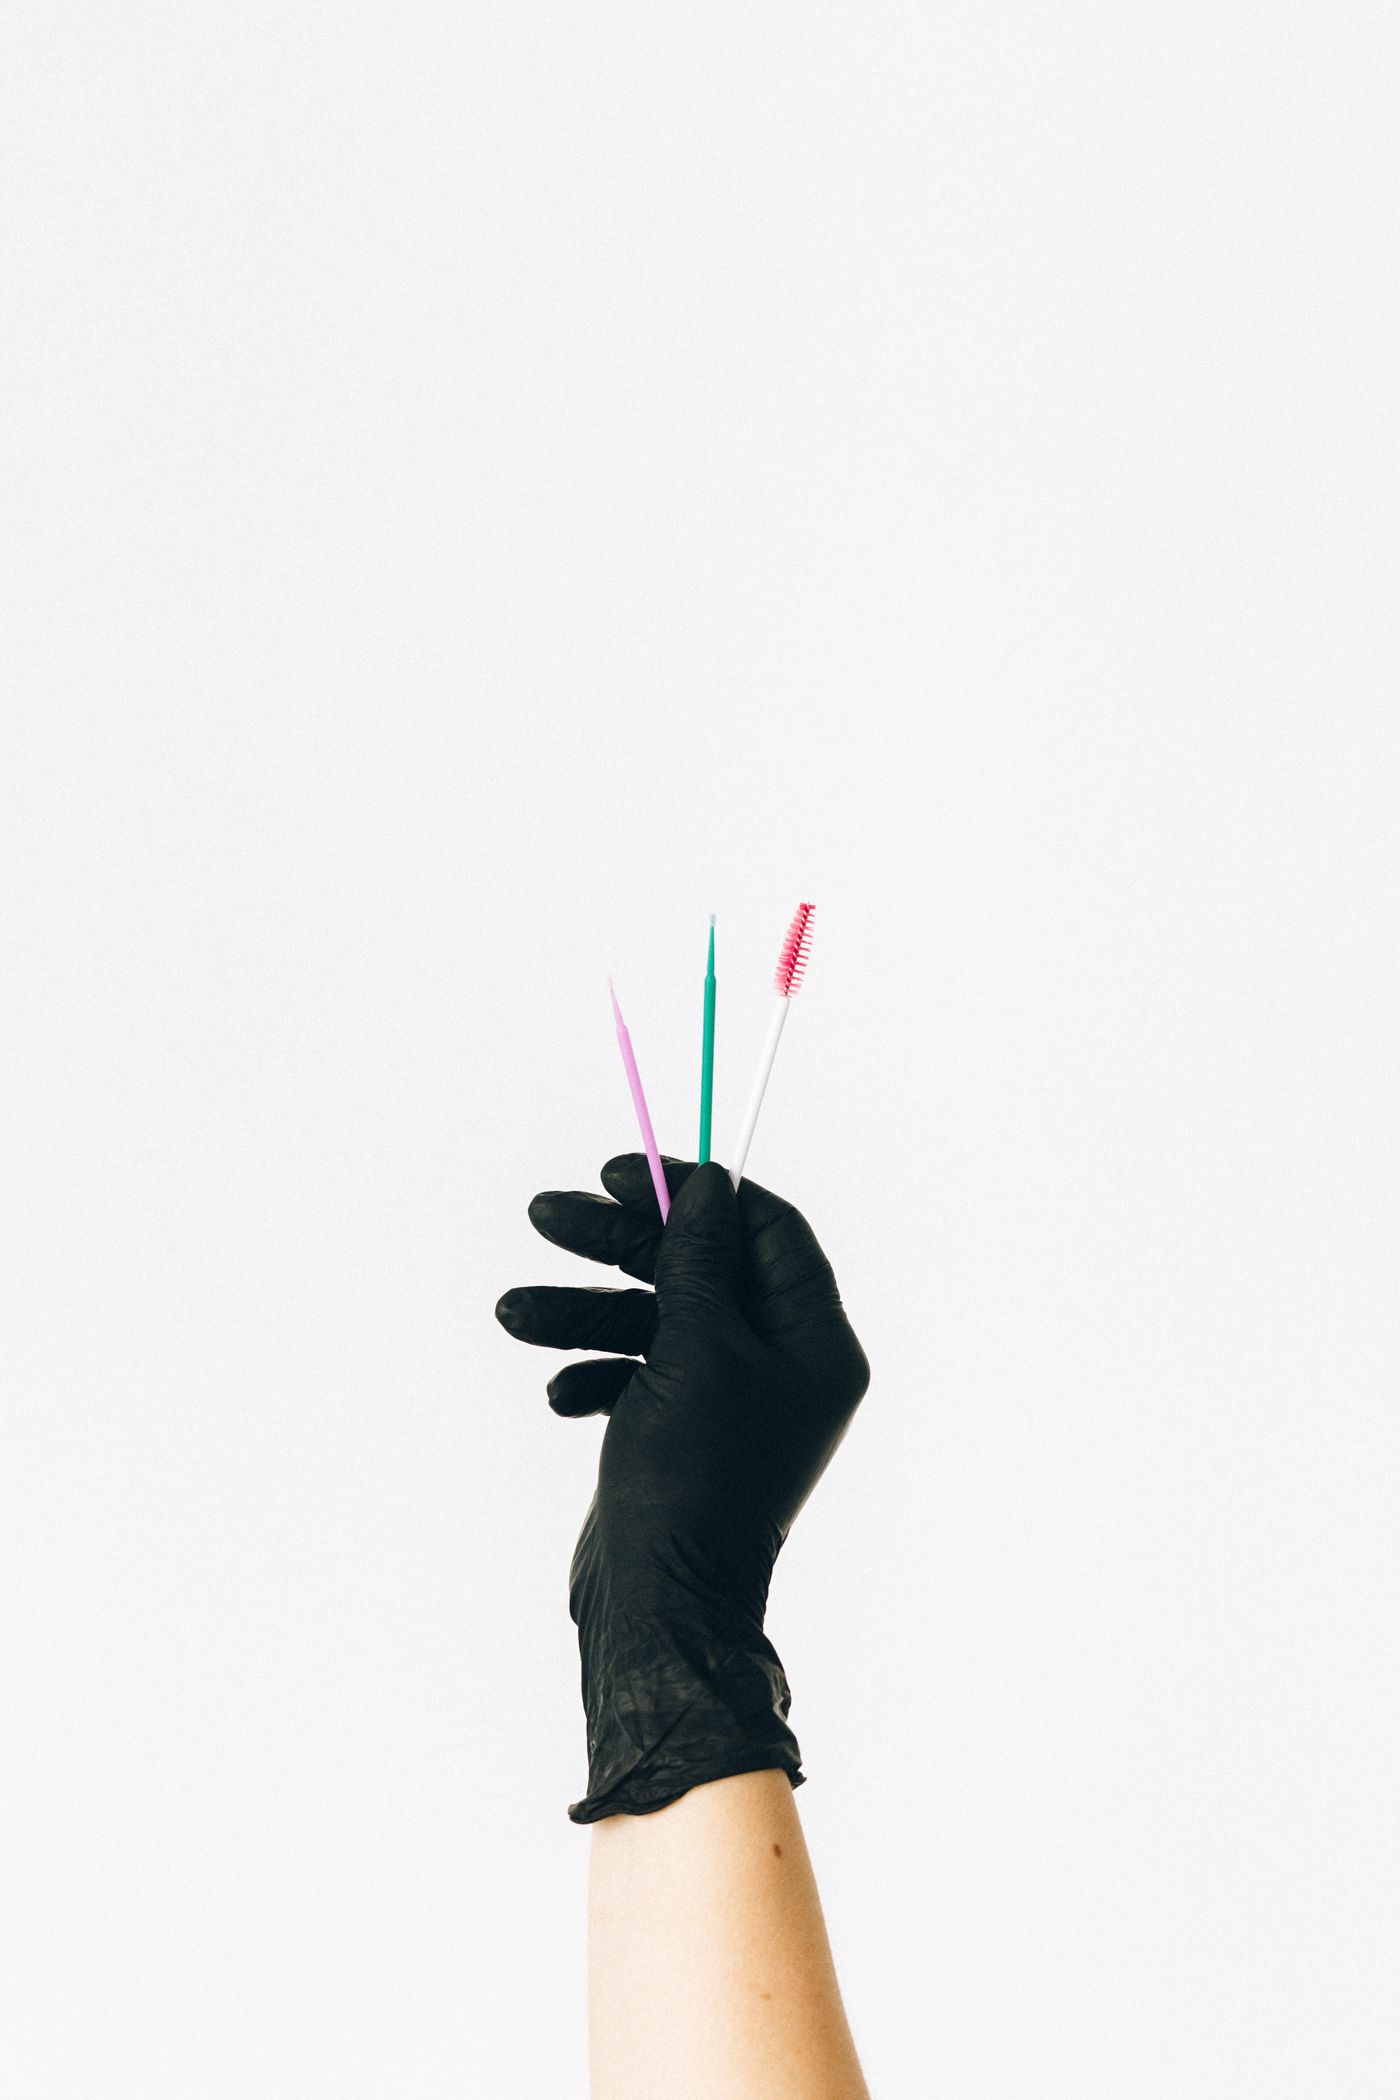
Reference photograph: small brow tools held in a gloved hand.
03
Skin that suits hair strokes
Fine, crisp strokes tend to hold best on normal to dry skin with small pores. Part of a trainee’s job is learning to assess skin type, texture and existing brow hair during consultation, before the pattern is ever drawn.
When shading is the better choice
Oily skin, large pores and more mature skin can blur hair strokes as they heal. A shaded brow is often the more suitable method there, which is why many students learn both. Compare the Microblading Course with the Powder & Ombre Brows Course, or read Powder Brows Training: Shading Explained.
04
Mistakes most beginners make
Strokes too close together. Lines that look separate on day one can merge as they heal. Leave room.
Uneven pressure. Heavy starts and light finishes give patchy retention along a single stroke.
Rushing the mapping. A skipped measurement shows as an uneven arch that no stroke can correct.
Loose skin tension. Without a firm stretch the blade wanders and the line wobbles.
Designing for the photo, not the face. Brows should suit the person’s bone structure and expressions, not a trend.
05
Practice habits that build a steady hand
Short, frequent sessions beat one long weekend. Warm up with pencil patterns, then move to practice skin and work a full brow each time rather than isolated strokes. Photograph every sheet in the same light so you can see progress honestly, and bring those sheets to your trainer for feedback.
Keep a simple log of what you changed each session: angle, pressure, spacing. Hygiene belongs in practice too. Glove up, set up your station properly and dispose of blades correctly every time, so the routine is automatic before you ever work on a person.
Ready to learn it properly? Read the Microblading Course page, then send us an enquiry.