Course 05 of 08
Lip Tattoo Course
Lips move, flush and heal differently from brows. This course covers lip tattoo and lip blush work from the outline outwards: how the lip is built, how to map a balanced shape, how pigment colour behaves on warm and cool skin, and how to care for a sensitive area before and after a treatment.
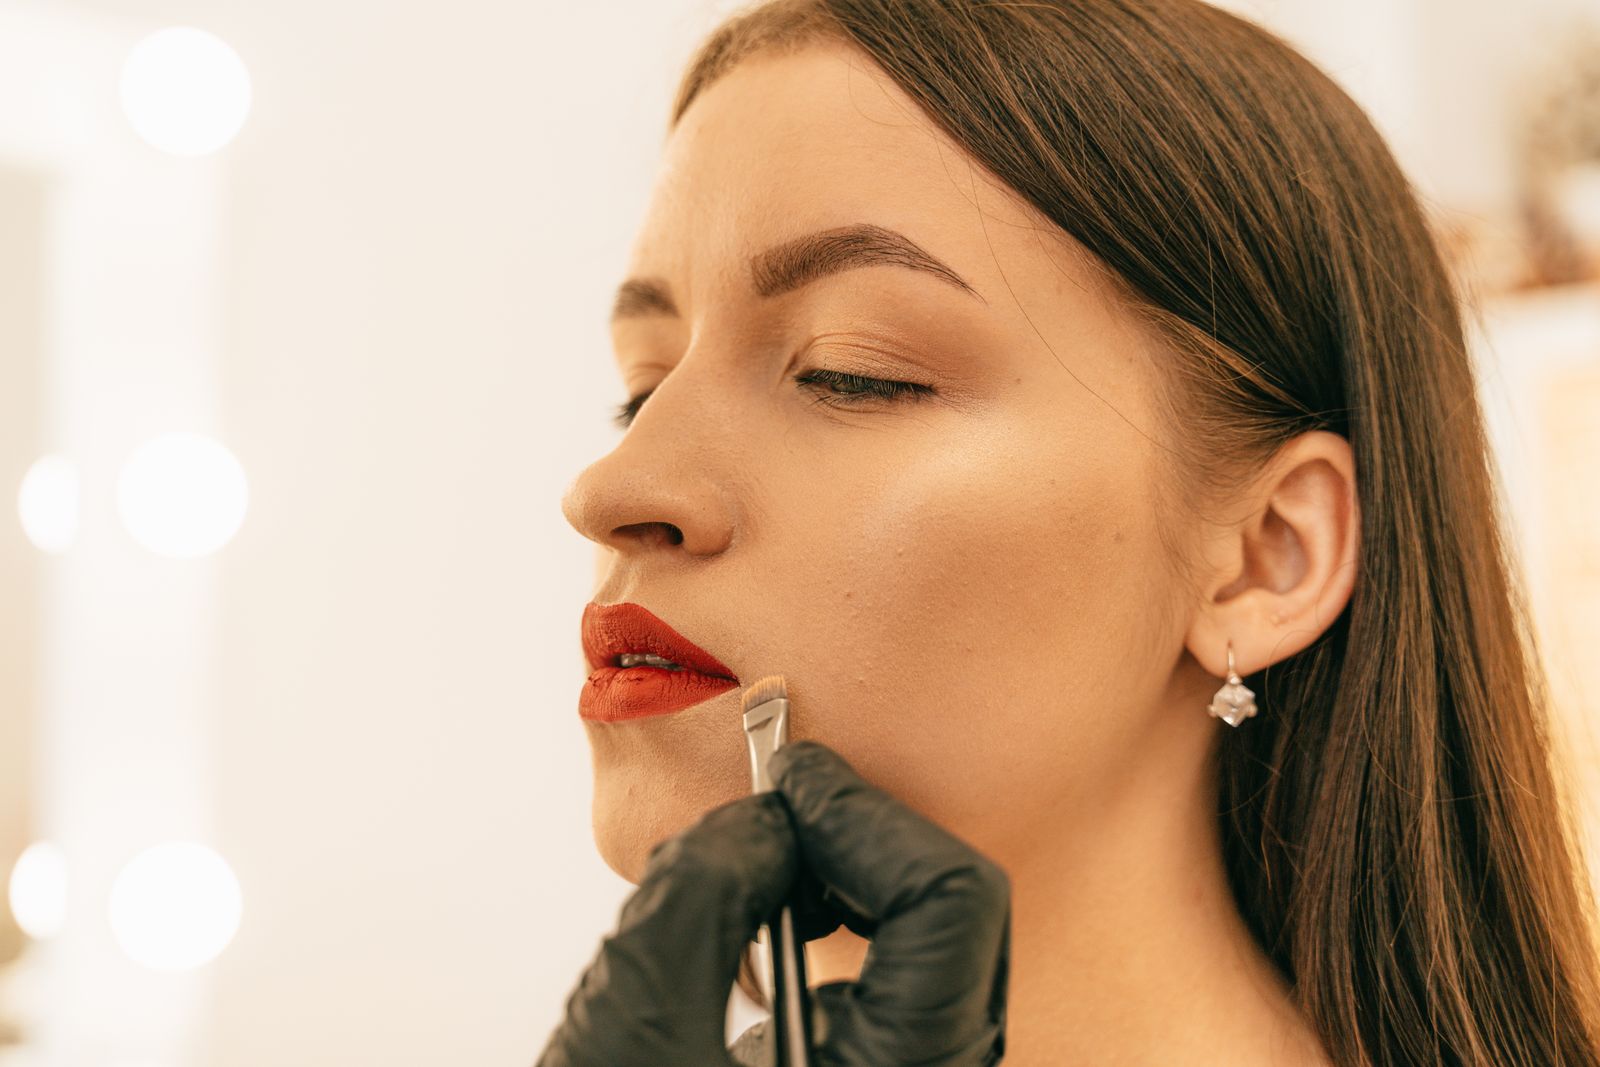
Reference photograph: colour placed close to the natural lip line.
01
Overview and who it is for
A soft lip blush and a defined lip tattoo both rely on the same foundations: a correct outline, a pigment chosen for the client’s natural lip tone, and a steady, even hand on thin, mobile skin. The course sets these out in the order you use them with a client, so each skill builds on the last.
It suits beauty professionals adding lip work to an existing brow practice, and newer learners who have completed foundation study through the Cosmetic Tattoo Course and want to specialise. If you are unsure where to start, the course contents lay out all eight areas side by side.
Tutor’s note: lip work rewards patience. Most corrections start with a rushed outline, not with the pigment.
02
Techniques covered
Lip anatomy and outline mapping
The vermilion border, cupid’s bow, philtrum and corners of the mouth. You learn to measure and draw a balanced outline that respects the client’s natural shape rather than overdrawing it.
Colour theory for lip pigments
Natural lip tones range from cool and bluish to warm and pigmented. Undertone, lightness and how colour settles as skin heals all shape which pigment you choose and how you mix it.
Blush shading and defined outlines
Soft, diffused colour for a lip blush compared with a crisper edge for a fuller look, and how to judge which one suits a particular client.
Sensitivity and aftercare education
Lips are one of the most sensitive areas you will work on. You learn to talk clients through preparation, what healing usually looks like, and the aftercare guidance to give before they leave.
03
Course structure and training format
The course follows the order of a lip treatment itself: outline, then colour, then heal. It moves from theory to the hand, with outline drawing and shading practised on practice skin before any work near a live lip. Consultation and hygiene run through every stage.
Duration and format. Course length, session times and how theory and practical training are combined are set out when you enquire, so the details match the intake you are asking about.
What is included. What your enrolment includes is listed in the course information sent after you enquire.
Step 1 of 3 →
Outline
Assess the client’s lips, then map the vermilion border, cupid’s bow and corners of the mouth. You draw a balanced outline that respects the natural shape instead of overdrawing it.
Check: draw, step back, then check symmetry from the front and in profile.
Step 2 of 3 →
Colour
Read the natural lip tone, from cool and bluish to warm and pigmented, and choose and mix a pigment to suit it. Then practise soft blush shading and a crisper defined edge on practice skin.
Check: judge the undertone in natural light before you mix.
Step 3 of 3
Heal
Learn how colour settles as sensitive lip skin heals, and how to explain what healing usually looks like. Then practise giving clear aftercare guidance before the client leaves.
By the end you should be able to assess, map, choose a pigment and explain aftercare clearly.
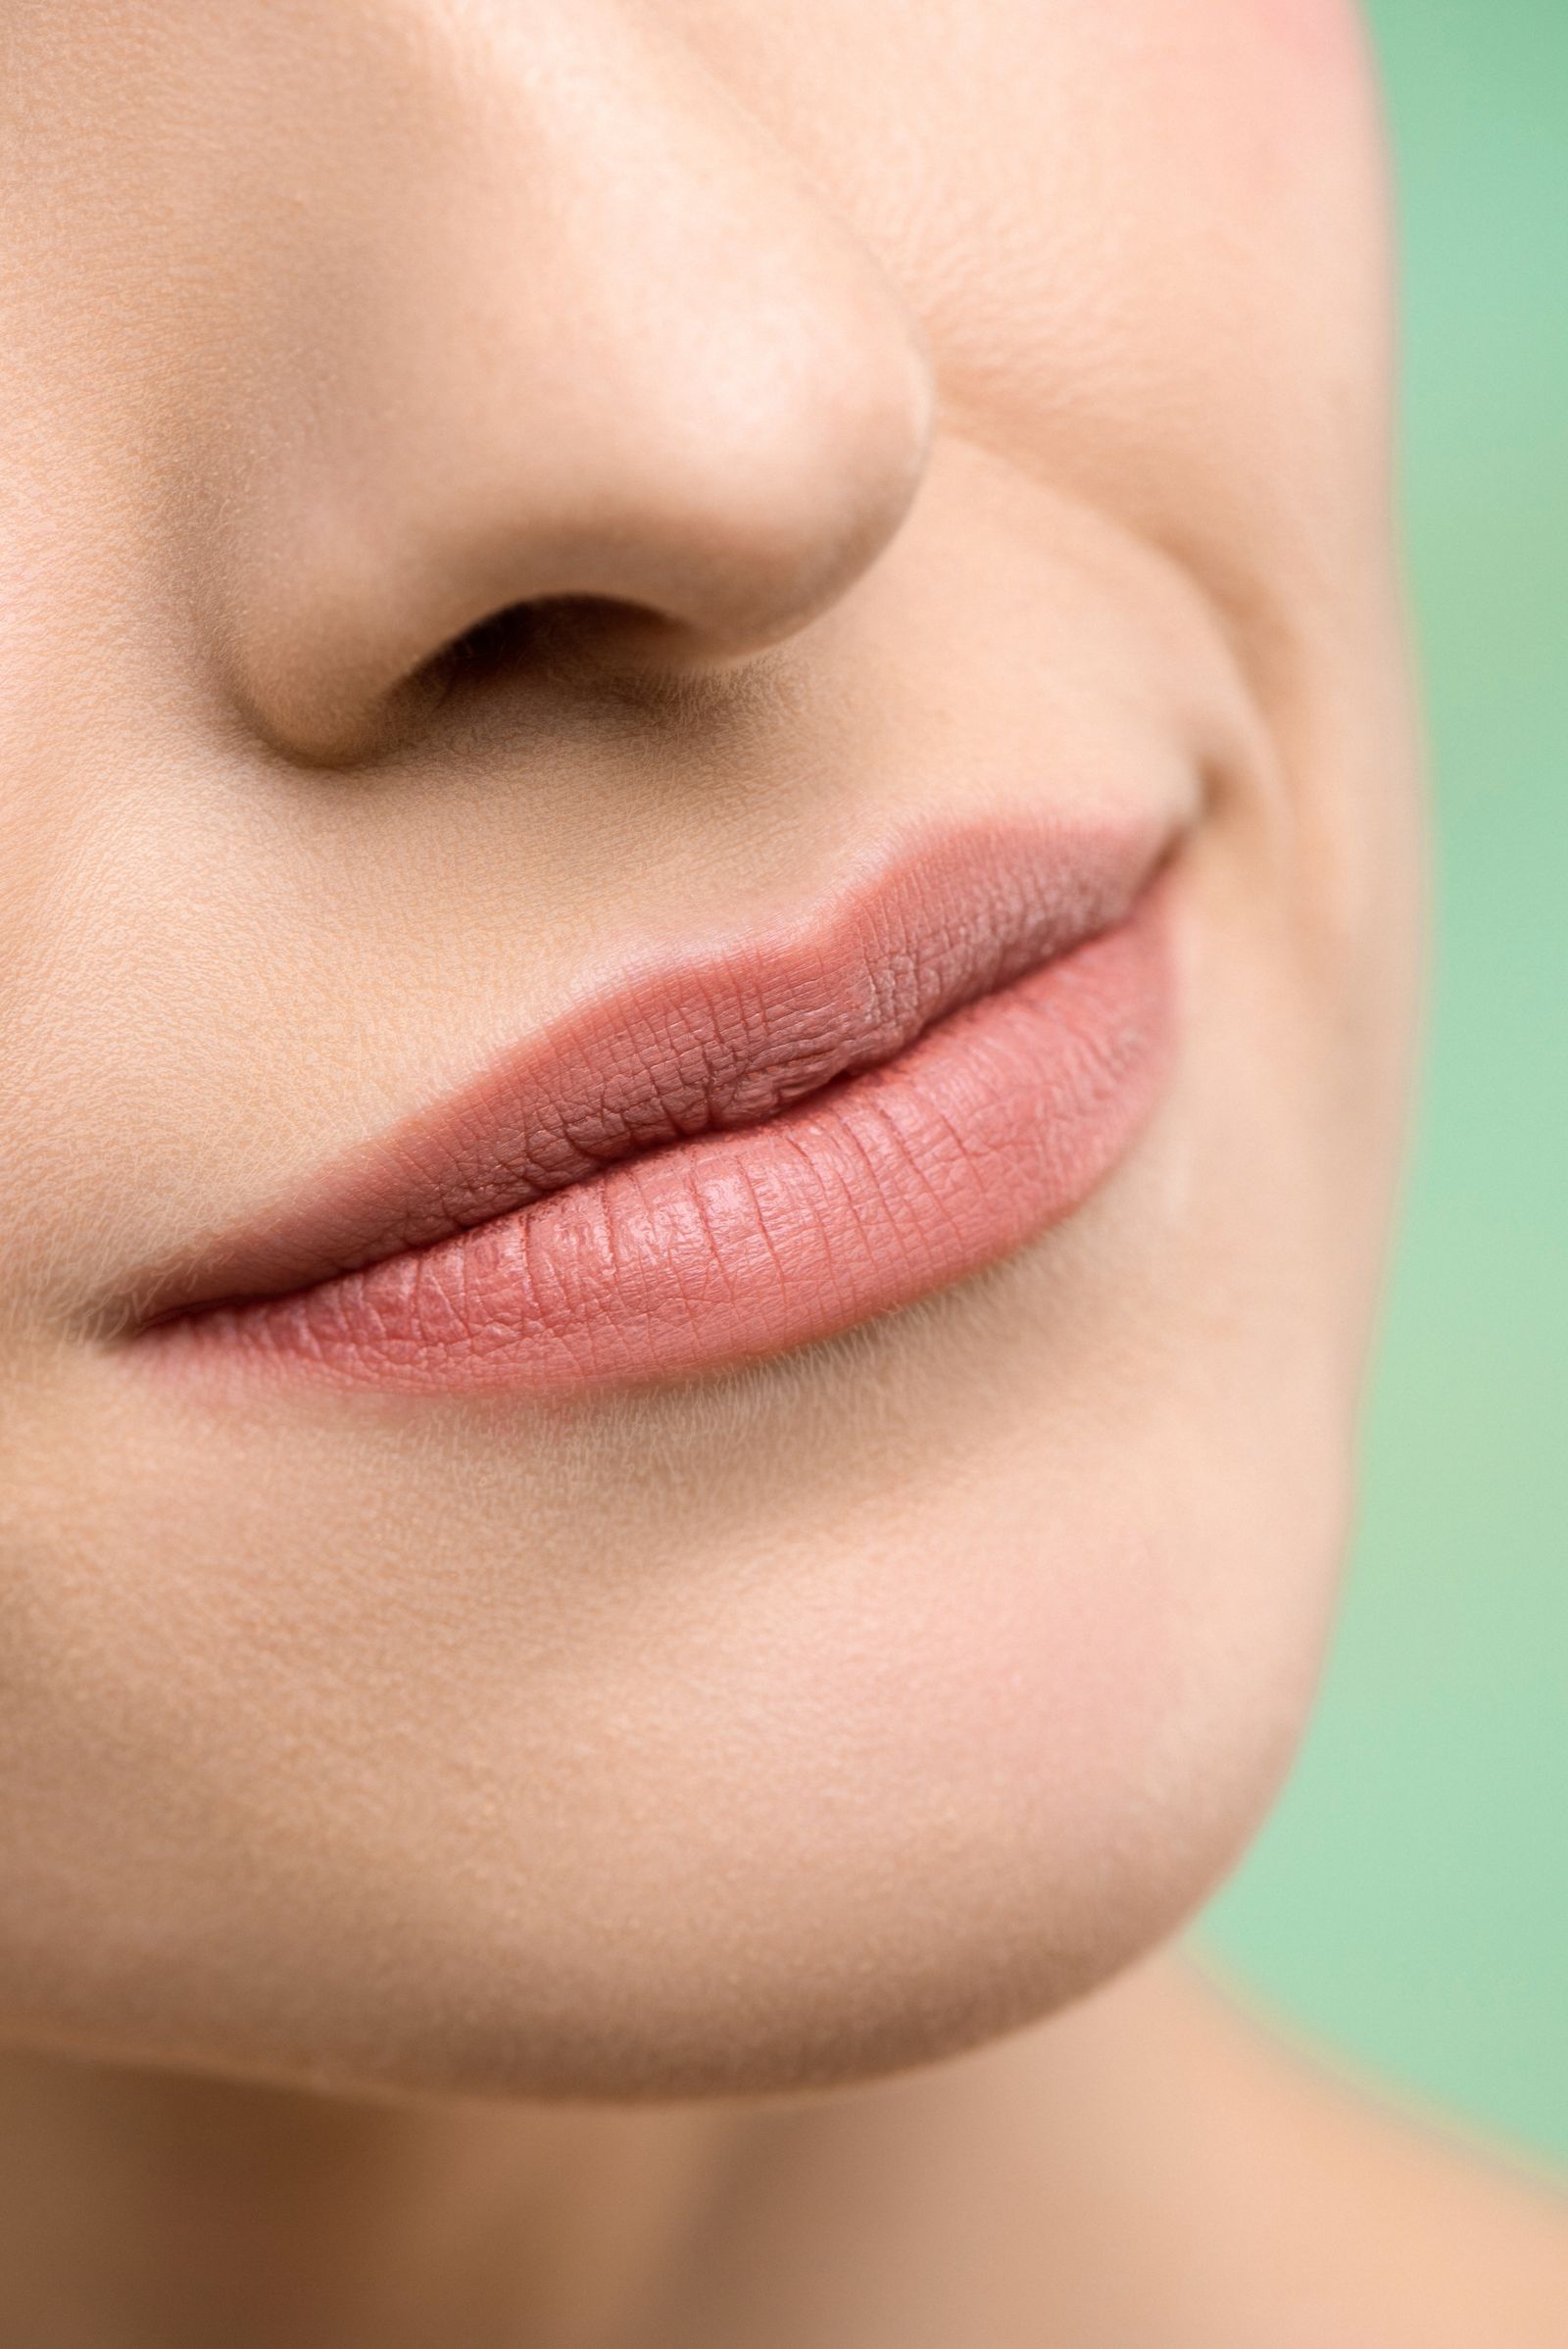
Reference photograph: a natural lip tone, the starting point for the colour step. This is a stock image, not student work.
Trainer
Lip work is taught hand over hand, so the person guiding you matters. Trainer profiles set out each trainer’s experience and the courses they teach.
Student work
The gallery gathers lip references alongside brow and eye work, grouped by course so you can see the kind of outline and colour the training aims for.
04
Questions
Do I need brow experience first?
Not necessarily, but foundation knowledge of skin, hygiene and pigment helps. Mention your background when you enquire and it can be matched to the right starting point.
What is the difference between lip blush and a lip tattoo?
Lip blush is usually softer and more diffused; a defined lip tattoo carries a clearer edge and stronger colour. The course covers both and how to choose between them.
Can I combine this with another course?
Many students look at lips alongside the Eyeliner Tattoo Course or a brow course. More general answers are on the course FAQ, and anything else can go through the contact page.
Ready to learn lip work, outline first?
Before you enquire, read Lip Tattoo Training: Blush, Outline and Colour for a closer look at what the training involves.