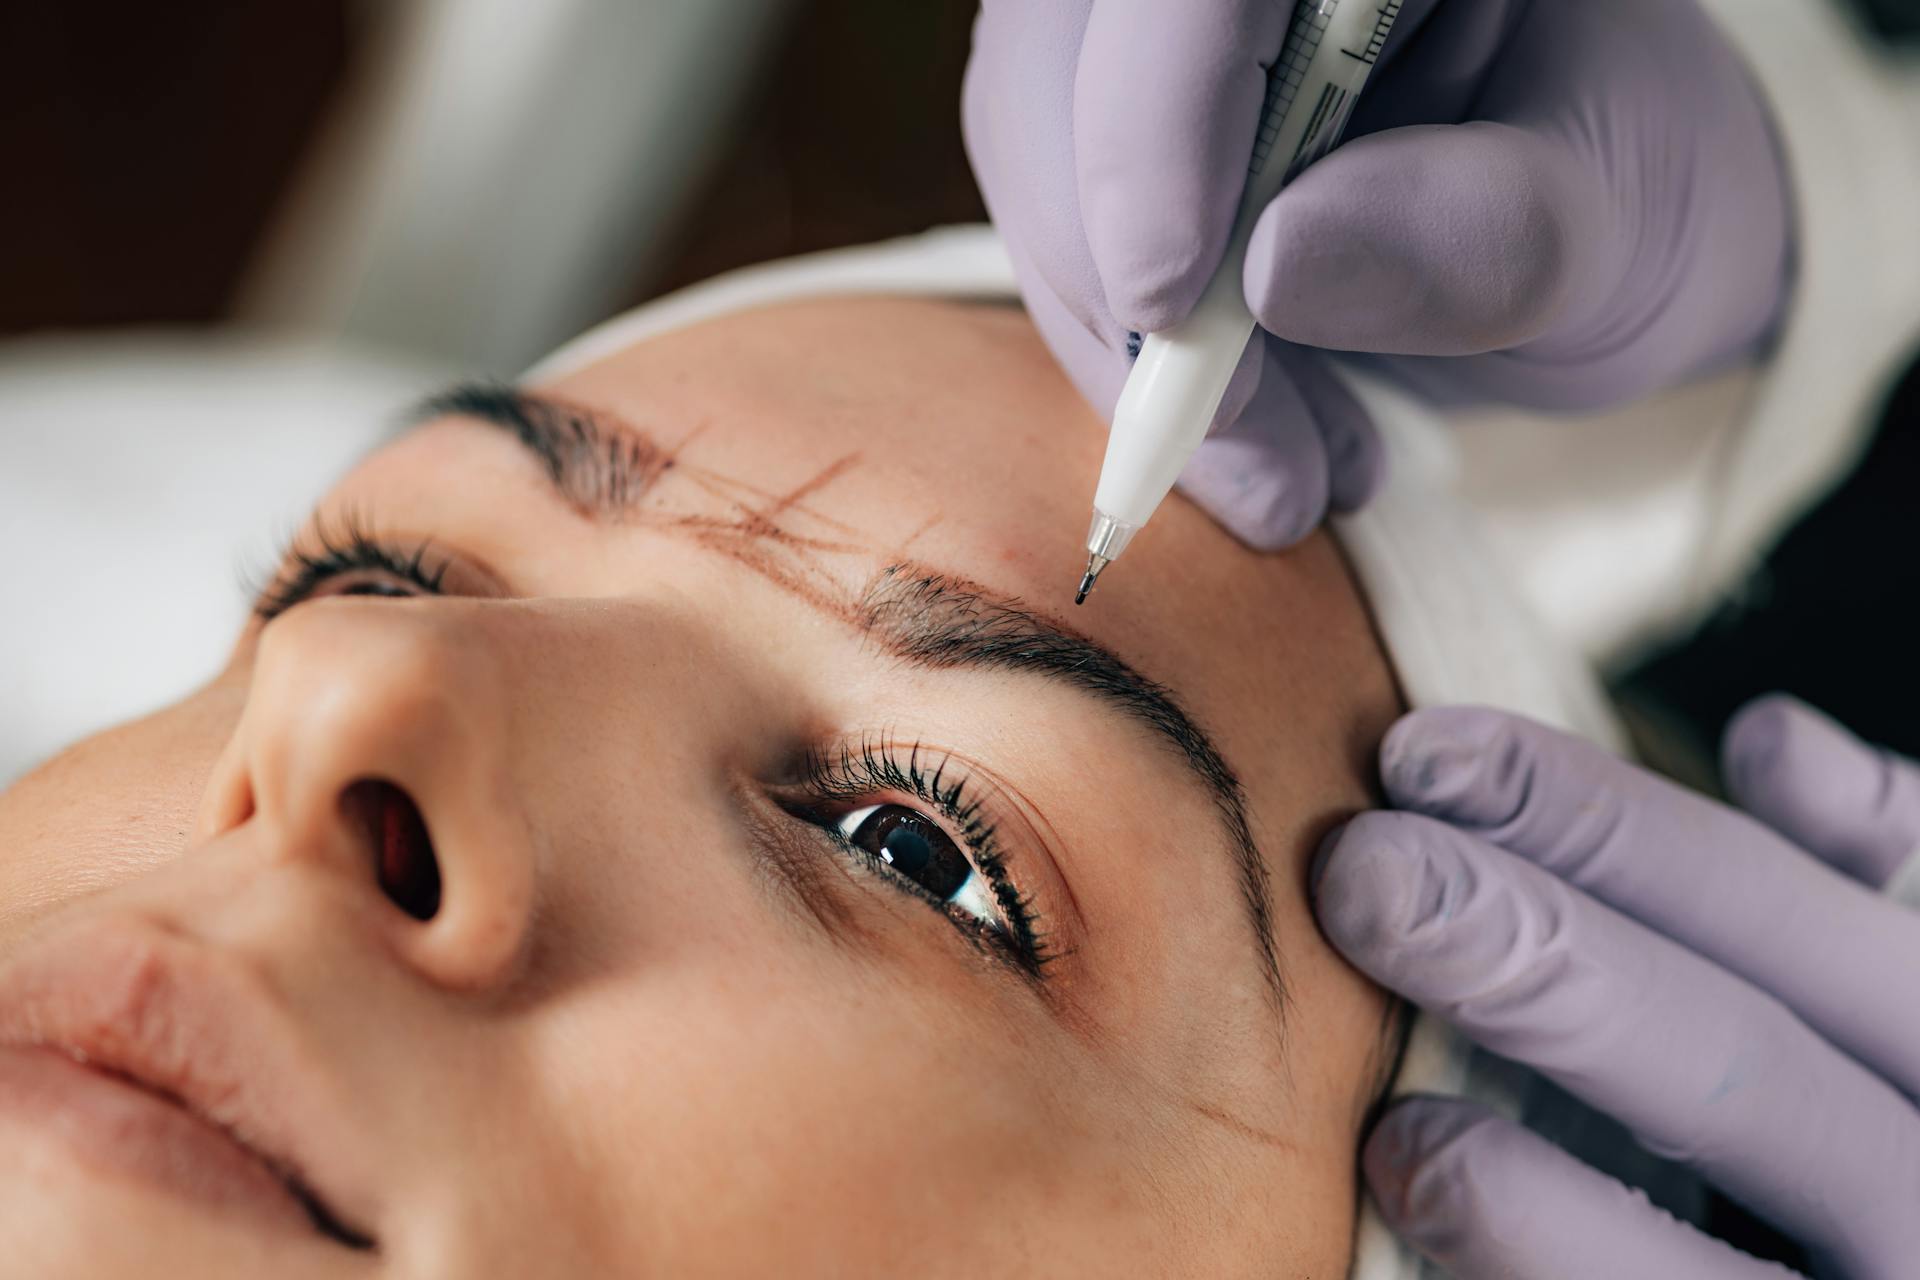
Mapping marks guide the work across the brow.
Course 02 of 08
Eyebrow Tattoo Course
Brows frame the face, so eyebrow tattoo work starts long before the needle. This course centres on mapping and symmetry, reading face shape and skin type, and deciding between hair-stroke and shaded methods for each client.
01
Overview and who it is for
The Eyebrow Tattoo Course brings together the brow-specific skills that sit inside the wider discipline of cosmetic tattoo. You learn to design a brow that suits the person in the chair: measuring start, arch and tail points, balancing two sides of a face that are never truly identical, and adjusting the design for bone structure, expression and existing hair.
From there the course looks at skin. Oily, dry, mature and sensitive skin all hold pigment differently, and that affects whether fine hair-strokes or soft shading is the better choice.
Who it is for
Aspiring artists who want brows as their first specialty, beauty therapists and brow stylists who already shape and tint and want to move into cosmetic tattoo, and working artists who want a stronger grounding in brow design. If you are completely new to the field, the Cosmetic Tattoo Course sets out the broader foundations.
Margin note: brows are rarely symmetrical. Good mapping creates balance, not a mirror image.
Unsure where brows fit in a wider career? Read How to Become a Cosmetic Tattoo Artist in Australia.
02
Techniques covered
Brow mapping and symmetry Design
Face shape and brow proportion Design
Reading skin types Skin
Pigment tone for brows Colour
Choosing hair-stroke or shaded Method
Each method has its own course. Hair-strokes are covered in depth in the Microblading Course; soft shading in the Powder & Ombre Brows Course.
03
Choosing a brow method for a client
Before any technique begins, the artist decides which method suits the person in the chair. These three questions shape that choice. Each method is then taught in depth in its own course.
Option A — Microblading
Option A · Skin type
Often considered for normal to drier skin, where fine strokes are more likely to stay crisp.
Option A · Brow density
A client with some natural hair and patchy gaps that individual strokes can fill.
Option A · Client goals
Someone who wants a textured, hair-by-hair result that blends with their own brow.
Option A · Study this method
Microblading Course
Option B — Powder & Ombre
Option B · Skin type
Often considered for oily, combination or mature skin, where soft shading can hold a more even tone.
Option B · Brow density
A client with sparse or very fair brows who needs a filled base rather than added hairs.
Option B · Client goals
Someone who prefers a defined, makeup-like brow with a softer front.
Option B · Study this method
Powder & Ombre Brows Course
04
The mapping sequence
Every eyebrow tattoo in this course starts with the same four checks. They are practised until they become habit, because a brow that is mapped well is easier to work, whichever method follows.
Step 1
Measure
Start, arch and tail points are measured against the client’s own features, so the design rests on reference points rather than guesswork.
Step 2
Mark
The points are joined into an outline drawn on the skin, adjusted for bone structure, expression and existing hair.
Step 3
Check symmetry
Both sides are compared from the front and at an angle. The aim is balance, since no face is a true mirror image.
Step 4
Confirm with client
The drawn design is shown and talked through with the client, and any changes are agreed before technique begins.
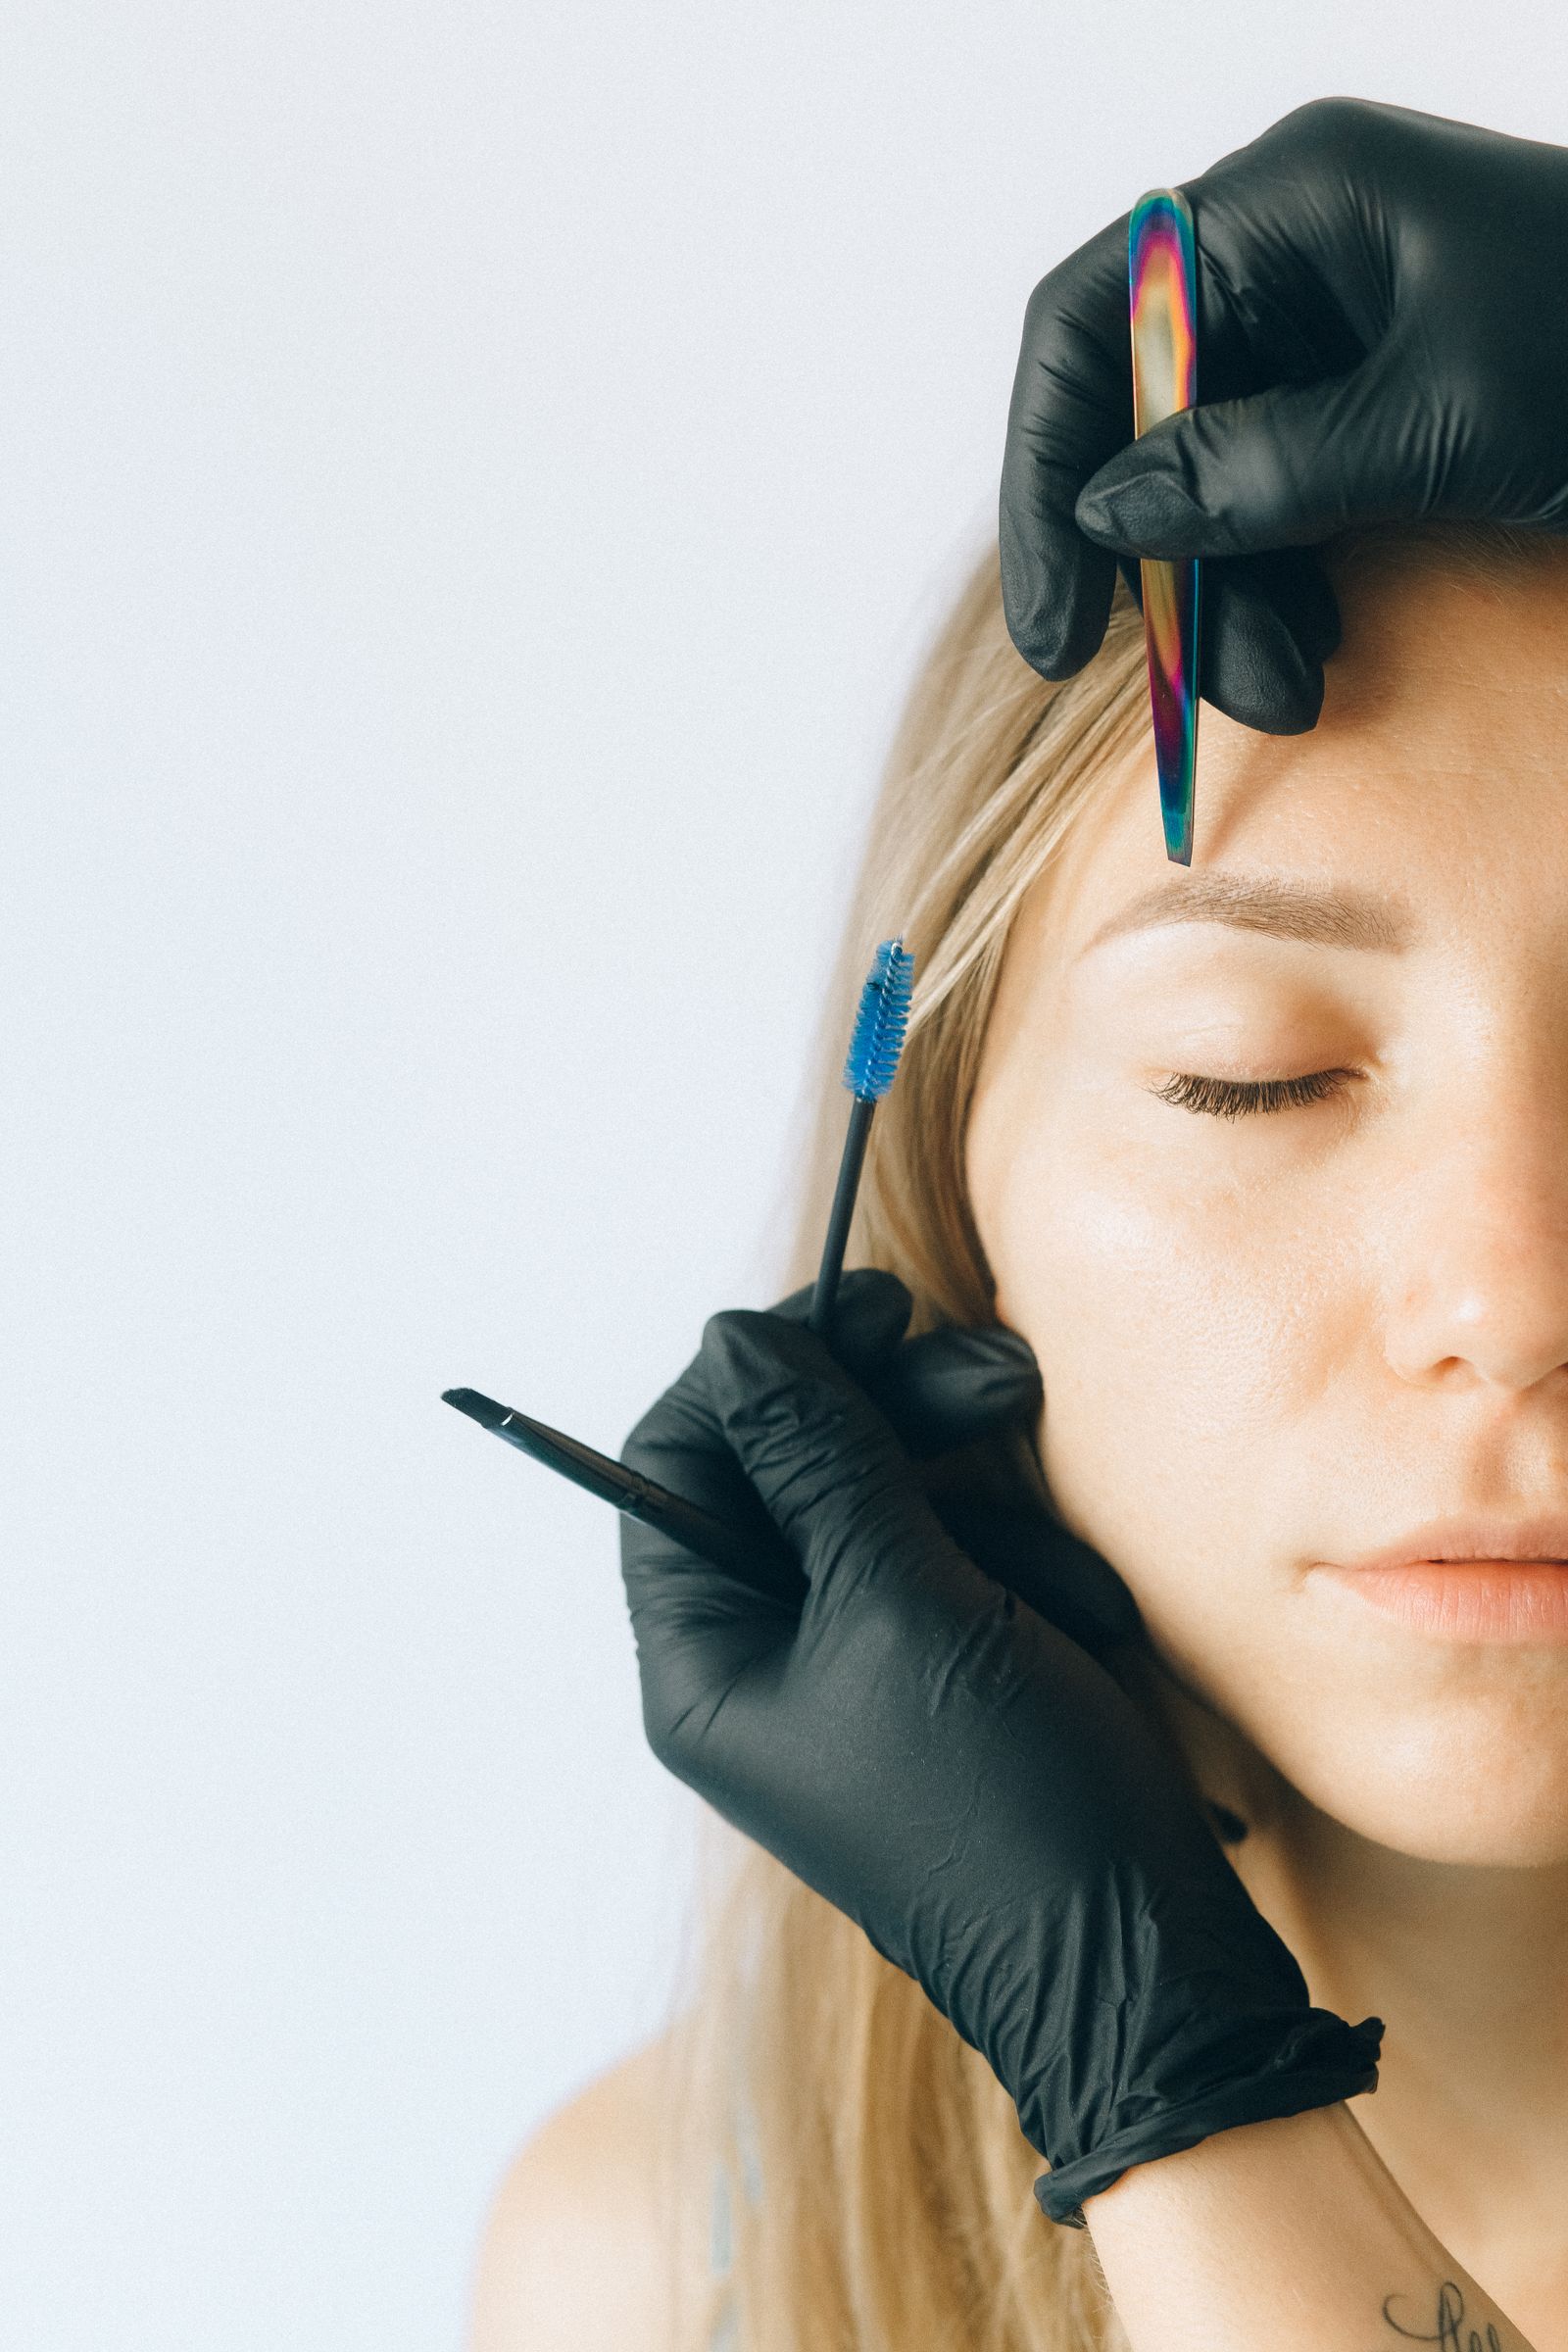
Reference photograph: brow and lash-area preparation.
Structure, format and what you learn
Course structure
The course moves from theory to design to hands-on practice: brow anatomy and skin, then mapping and drawing, then technique work on practice surfaces before any live application.
Duration and training format
Session dates, duration and format are confirmed when you enquire, so you receive current details for the Melbourne intake you are interested in.
What students learn
How to map a brow with measured reference points, explain a design to a client, assess skin before choosing a method, select a pigment tone that suits skin undertone and hair colour, and prepare a clean, organised workstation.
What is included
Inclusions such as practice materials and course notes are outlined in full when your enquiry is answered.
Skin texture and oiliness guide the method. See Powder Brows Training: Shading Explained.
05
Your trainer
Brow design is best learned beside someone who maps brows every day. Trainer profiles set out each trainer’s verified experience and the courses they teach.
06
Student work
The gallery gathers genuine brow work by students, each piece linked to the course it came from, so you can see how mapping and method choices look in practice.
07
Eyebrow tattoo course questions
Do I need beauty experience first?
Prior experience in brow shaping or tinting can help, but it is worth asking about entry points for your background when you enquire. The Cosmetic Tattoo Course covers the wider foundations.
How is this different from the Microblading Course?
This course looks at brows as a whole, including design, skin and method choice. The Microblading Course goes deep into one hair-stroke technique. Microblading Training: A Student Guide explains more.
How do I choose between brow courses?
Compare the methods above, then read How to Choose a Cosmetic Tattoo Course. More answers are on the course FAQ page.
Ready to talk about brows?
Ask about dates, format and inclusions for the Eyebrow Tattoo Course. For general questions, use the contact page.